
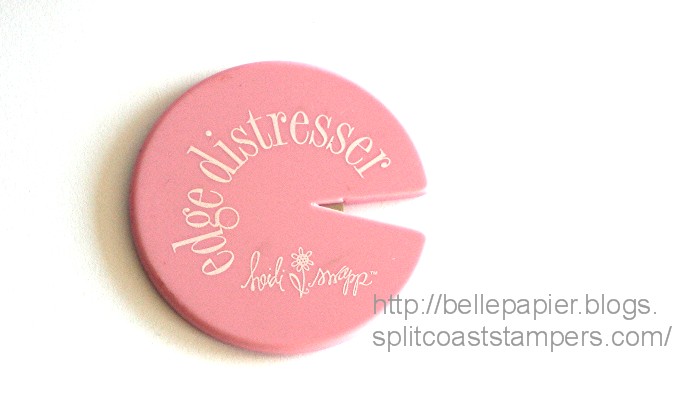
I’ve been thinking about how much I love my little, pink Heidi Swapp Edge Distresser lately. Perhaps because of the amount of distressing I’ve been doing lately, perhaps because I never seem to put it away as I use it so much, perhaps that pink color is registering as I have Think Pink on my mind lots because of Breast Cancer Awareness month…I just had to write this entry on my humble little tool. Actually it is one of the least expensive tools I own, very simple but one I definitely wouldn’t want to be without!
The Heidi Swapp Edge Distresser is really easy to use! Simply insert the edge of your paper into the slot and run it along the edges of your paper. A lot of the time, I’m very into a vintage look and I love the quick texture it adds to the design. It is a great way to embellish your design…without using any embellishments at all! I find it works best if you distress in the same direction each time. Usually I start near the middle of the edge and work out and then distress the other way. Run the distresser over the edge repeatedly until you get the look you desire.
Great Things about the Heidi Swapp Edge Distresser
- easy to use
- safe to use – blade is well protected by the edges
- easy to hold
- small and takes little space
- easy to pack for a crop
- works great on cardstock or patterned paper
- its cute…looks little a little pink pacman 😉
- PRICE! So reasonable! $1-2
- lasts well…I’ve had mine for a couple years
Where to Find It?
I purchased mine at my local scrapbooking store. You can also find them on-line just do a search on Google or eBay and you are sure to find one.
My card sample is a design I’ve worked up to give to my mother-in-law tomorrow. It is Thanksgiving tomorrow here in Canada and we are going to be celebrating with my husband’s family and loads of good food. 🙂 I thought this card would be nice to bring to tell her that we are thankful for her.
Give Thanks
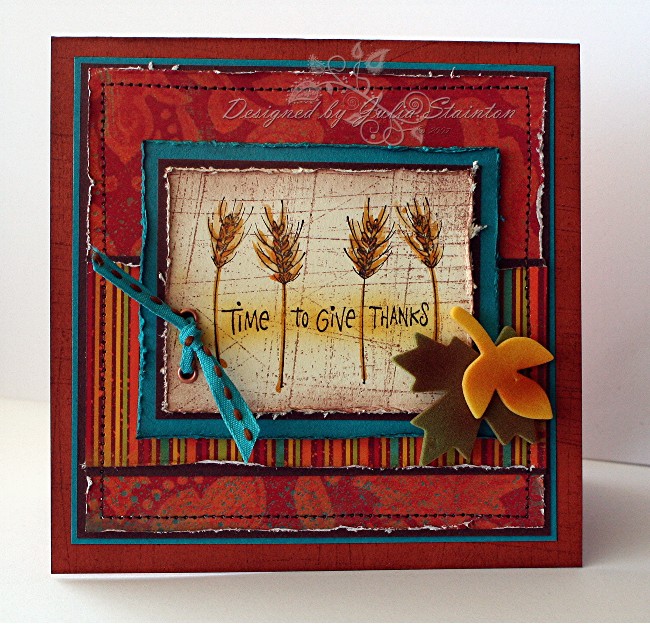
Lots of distressing on this design…I think it is such a great look, especially for fall designs. I pulled out my patterned paper for this design to show distressing on both cardstock and patterned paper…it works equally well on each. I love how it looks with the patterned paper as its inner white core highlights the edges so well.
Quick Tip: Be careful when distressing the edges of lighter weight patterned paper, it requires a lighter hand and can tear if you don’t distress a little more gently.
For my main image, I pulled out this darling Hero Arts Time to Give Thanks stamp I bought last year for a design I created for the Dirty Dozen gallery. I just love the heads of wheat and the way the sentiment is spaced between them. After stamping my image in Black Palette Noir Ink, I colored the wheat with my Copic Markers using three different golden and rust markers to build up the color. I always start with the lightest color and to get the realistic look for this design, used a quick sketch-style stroke. To highlight the sentiment, I decided to have a little fun with my airbrush kit. I simply inserted a warm golden color and lightly sprayed the words to make them glow. It only took about 30 seconds to insert my marker and spray them all. Love it!
I’ve been loving my new Sanded background stamp from Stampin Up. The main image was stamped with taht before distressing and matting with chocolate chip and Taken with Teal. The eyelets were then set with my Crop-a-dile and tied with some Teal May Arts Ribbon.
My background was quickly layered onto a Real Rust cardbase and then stitched with brown thread on my sewing machine. For embellishment I added some of the new American Crafts foam fall leaves. LOVE them! AND when adding them to my design, came up with another fun idea. For a project I was working on the other week, I had tried sponging them with dye ink…it just wouldn’t dry! And sooo…while my Copic Marker airbrush system was out I thought hmmm…. It was so quick to spray them with a rust color marker and I love the more natural results! The best part….it dried almost instantly. Love it! Happy, happy dance! ![]()
Hope you enjoyed this entry and design. 🙂 Wishing my fellow Canadians a wonderful Thanksgiving. This year, I’m missing my mom but I’m taking the time to be so thankful for the many blessings I have. My husband, my family, my health, freedom, the opportunities the past year has brought, my home, my friends. Thanks be to God from whom all my blessings flow.
And just in case you missed it… scroll down to the previous post for a chance to win a My Favorite Things Stamp set. 🙂
Supply List:
Cardstock: Taken with Teal, Real Rust, Very Vanilla, Chocolate Chip – Stampin Up
Patterned Paper: Daisy D’s
Stamps: Sanded – SU, Time to Give Thanks – Hero Arts
Ink: Close to Cocoa – SU, Black Palette Hybrid ink – Stewart Superior
Other: Copic Markers and Airbrush System, ribbon – May Arts, Eyelets – Making Memories, Crop-a-dile – We R Memory Keepers, Edge Distresser – Heidi Swapp, sewing machine, Foam Shapes – American Crafts
Pingback: Thanksgiving traditions