It’s been busy lately. Lots of weddings this season and I was delighted to host a bridal shower earlier in the week. It was a fun venture that kept me busy for a couple weeks and I thought I’d share a peek with you.
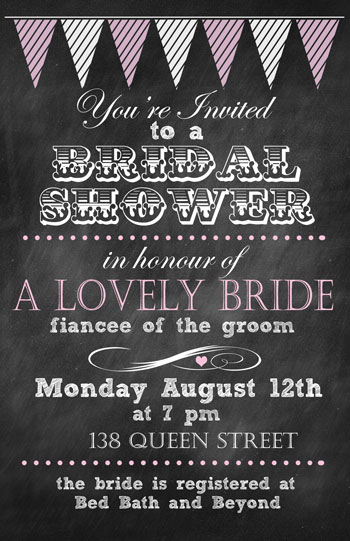
As I love designing in Photoshop, I created a custom invitation. It’s edited a little for privacy but you’ll get the idea.

Because of our on-going renovation, my dad was kind enough to let me host it at his home. I took advantage of my late mother’s teacups and the lovely dining room to go with a tea party theme. Please forgive the photo quality. It’s not the best due to the lighting
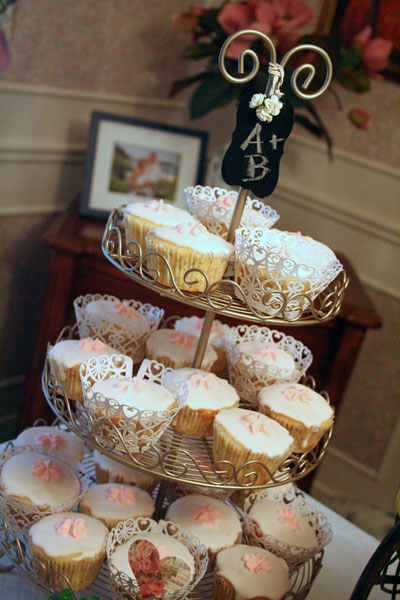
Queen cakes have long been a British favourite and having grown up with them, mine as well. I love the royal icing topping over mounds of heavy frosting and I piped on some sweet little royal icing flowers for decoration.

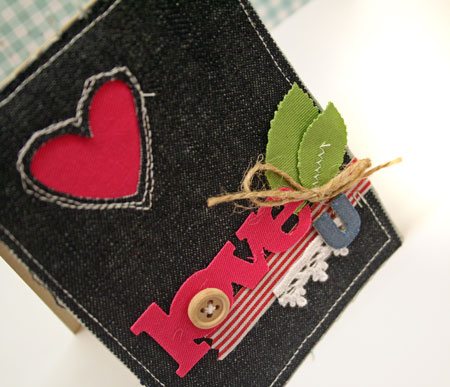
Last minute decor means keeping it sweet and simple. This little garland was created by punching out lots of hearts from scrap patterned paper and then stitching them together.

Another nod to the tea party theme, I created a quick bouquet of roses in a teacup. Literally a two minute project and very sweet. I also purchased some little pots of ivy and greenery and planted them in teacups and china jugs.
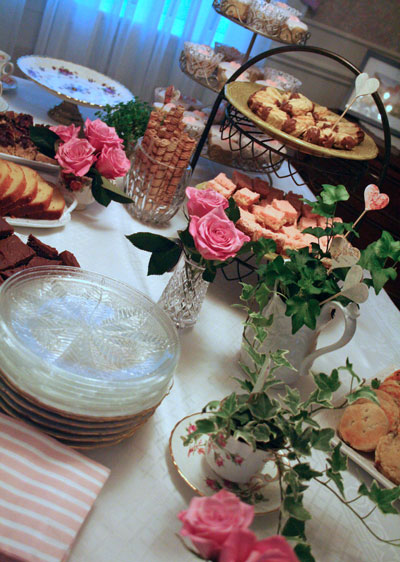
This photo just shows the sweets side of the table. Queen cakes, lemon loaf, welsh cakes, brownies, Swiss fingers, Neapolitan squares, pecan squares and tiny teacups filled with love hearts candies.
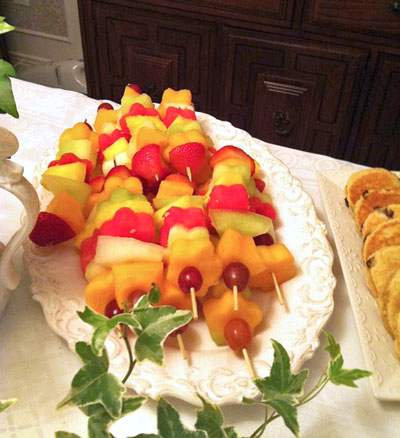
Inspired by Pinterest, we made these fruit kabobs which were a big hit. I’ll be making those again.
Best wishes A + B! We are so excited for you both!
I’ll be back tomorrow to share the card. Thanks for stopping by!


