2012 was a busy year. An eventful year. It brought some of the best of times and many perplexing ones.Thinking back to sitting at my desk one year ago, I never could have predicted the twists and turns this year has brought. It brought creativity and well, a rather long dry spell. It brought great joy and also tears. It brought the first overseas trip I’ve ever had with my hubby. A time I’ll always treasure. 2012 brought opportunities. A few of them I am thrilled to have taken. A few I’ve turned down. A year ago I wouldn’t have done that but it was the right thing to do. No is a hard word to say to a dream.
I’m still learning to find balance. I’ve learned a lot in 2012, about myself and life. I’m still learning to let go.
Placing my life and the lives of my loved ones in the hands of God each day is something I need to continually remember to do. I am not in control. It’s a good thing too as I’d just mess it up. A close friend told me that there is a quote something like this….”a mother is only as happy as her saddest child.” So true! I always want to fix things. I think perhaps that has been the biggest struggle of 2012. I’m looking forward to moving forward.
2013 is a shaping up to be an exciting year. My oldest son is getting married mid-February. Just a few more weeks! (Can I really be that old?!) Hubby and I are also grabbing another week together early in the year. I’m counting down to it. Bless my dear mother-in-law for helping make this happen. The past couple days I’ve been spending sorting and cleaning in my craft room. I’m feeling much more positive and excited about getting back in there for 2013.
I thought I’d share a few of my favorites from 2012 again with you this year. Last year I highlighted my top 10 non-published designs and I’m doing it again. If for some reason you want to look at 2011, here’s the link to that post.
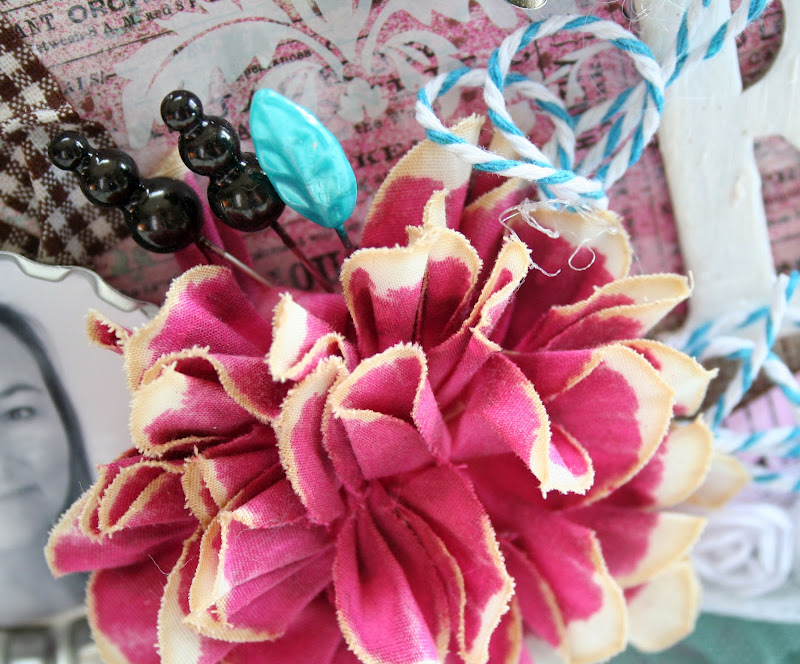
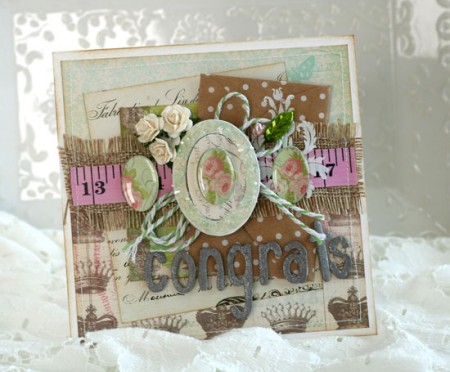
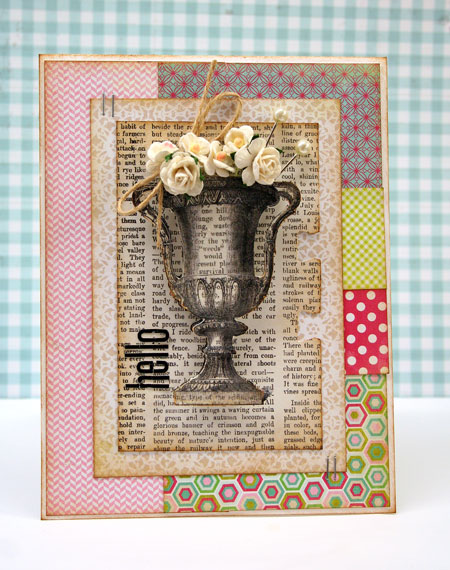
These designs are in no particular order but I did have a lot of fun creating this first one for a feature on the CASE Study Challenge Blog. It’s a card design with a little bit of this and a little bit of that. My favourite way to create.
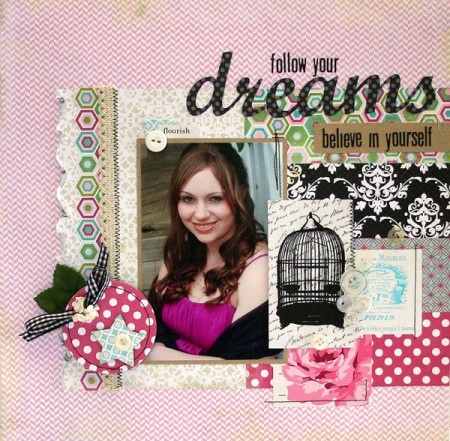
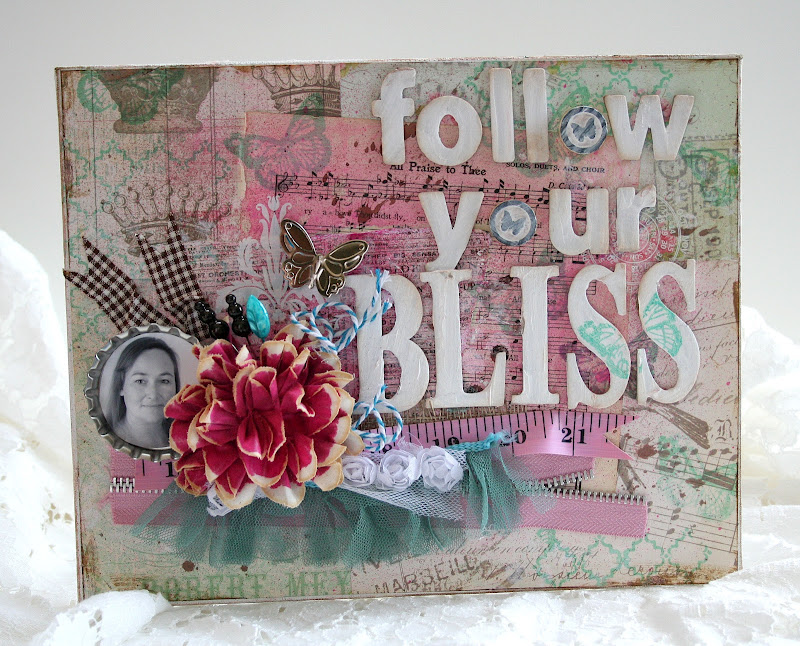
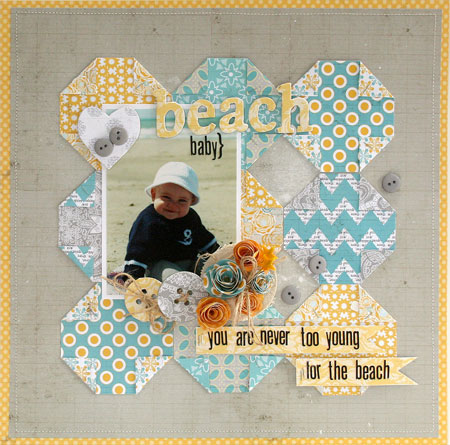
I love creating layouts of my daughter and this one is extra special as it uses my Victoria Park line that was released early 2012.
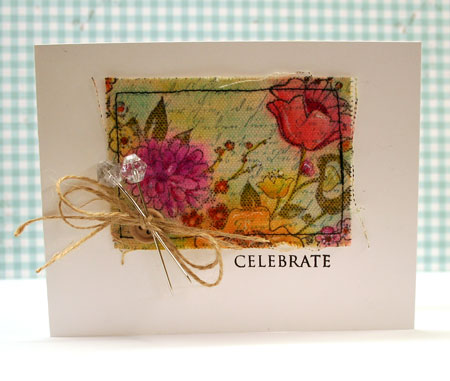
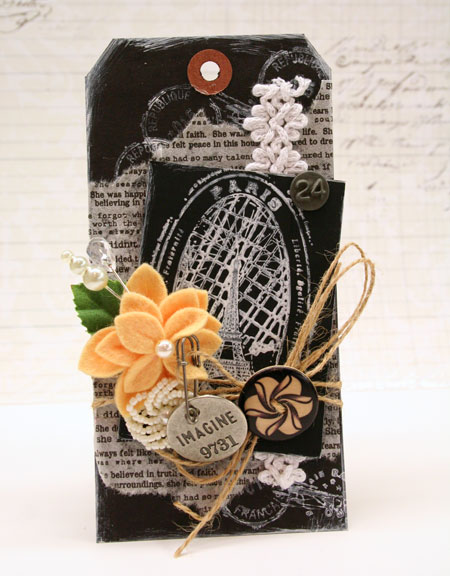
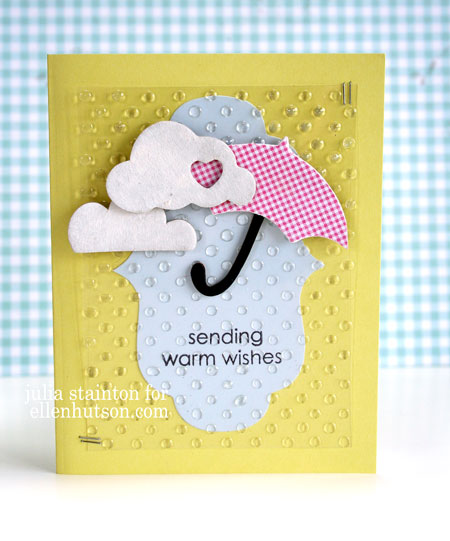
This card features a little mini canvas that is stamped and painted. I loved creating my own little piece of art and shared this design in the CLASSroom.
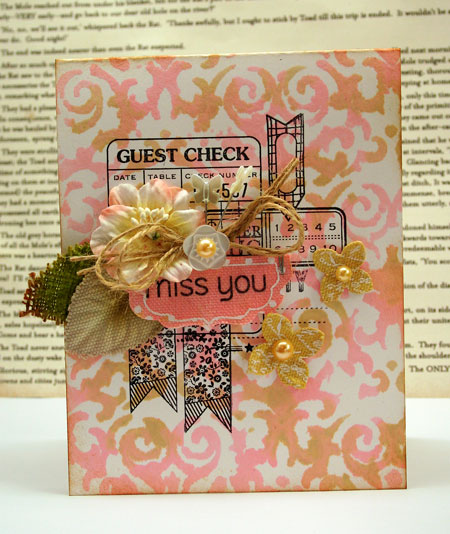
This card is special as I created it for Shannon, my daughter-in-law to be as an engagement card.
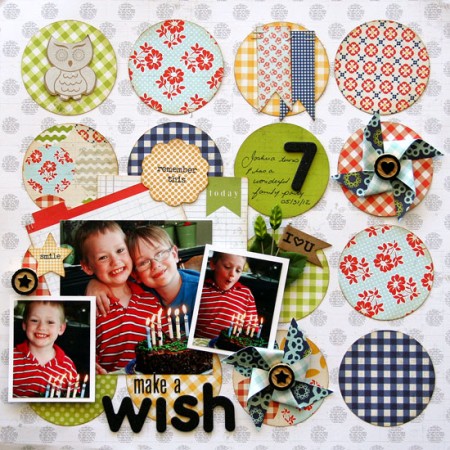
I haven’t created many layouts in the second half of the year. I’m thinking I’m going to have to remedy that in 2013 as I really miss it. This design came from a Lily Bee release at CHA Winter 2012. The folded corners on the squares was an idea I had that I was pretty happy with how it turned out.
 Back to another CLASSroom project, this dotty background had me giddy with how it turned out.
 Dots, dots and more dots. I just can’t seem to get enough!

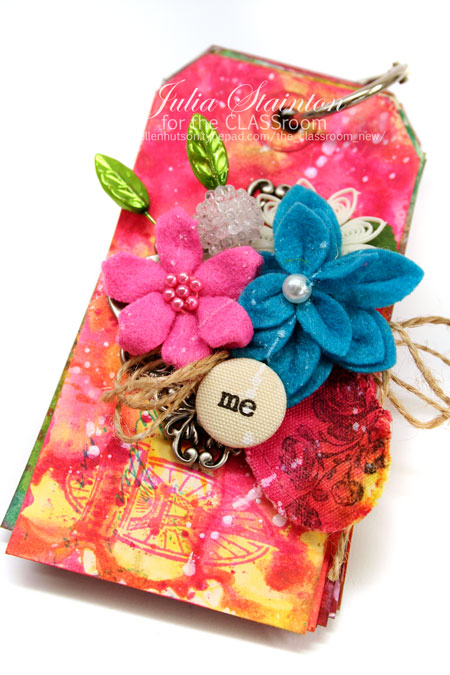
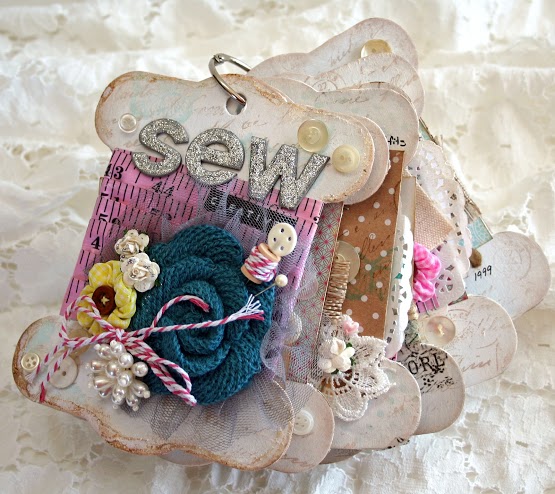
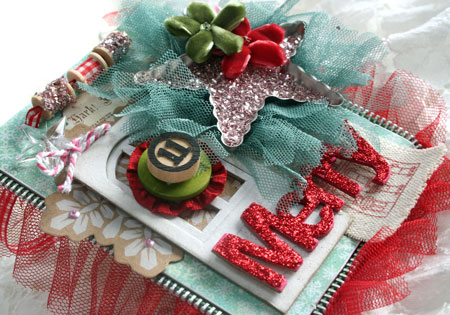
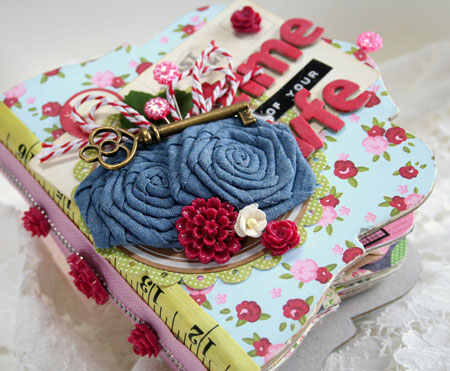
Perhaps my favourite creative part of 2012 was joining the Maya Road Design Team. I’m a Roadie! A year later I’m still pinching myself and just can’t get enough of MR product. I’ve been busy creating a lot of mini albums and this is one I really love. It’s chock-full of yummy details.
 paper piecing + journaling cards + Victoria Park + vintage paper posies
{sweet}
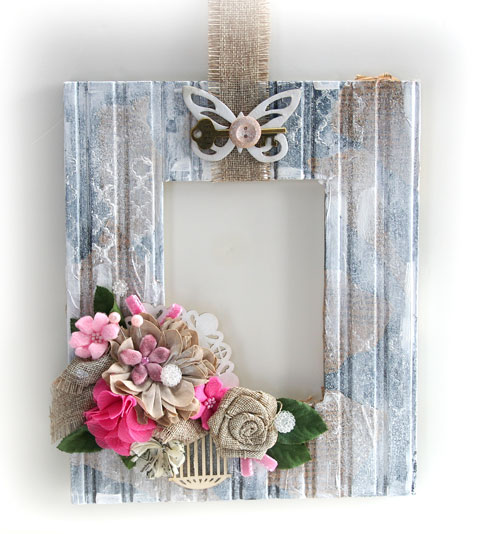
 Lastly, one thing of the things I did learn to do this year was to create videos. I shared a couple on my blog and created a couple for Maya Road. This window card video can be found here. I have a few ideas in mind for videos next year and can’t wait to get started.
I’m looking forward to 2013. When I look back and see God’s hand on my life over the past year, I know He’s led me through and is slowly shaping me into the woman I am supposed to be. I’m hoping for a peaceful and creative year and pray for a year of joy and blessing.
Have you taken some time to stop and reflect on the past year? Do you have some favourite projects? Lessons learned? Goals for 2013? I’d love to hear if you’d like to share!
Wishing you many blessings for the coming year!