I guess I’m a bit of a dreamer. I was always the girl with her head in the clouds and I guess in a lot of ways, I still am.
Dreams get us through every day life. They give us something to work towards. A goal. Some dreams come true and make us smile. Some dreams break our heart a little when they don’t. It all makes us stronger and makes us who we are.
The other day I was thinking of dreams and put this layout together.
First though…I have to tell you my saga. Friday was a crazy day. We woke up to no power. Spent the day huddled in the cold with no heat, no power and no water after a storm took it out. I didn’t go down to my craft room as the basement too dark to work in. One of my teenagers decided to have a nap. His room is in the basement and when he woke up, he came yelling up the stairs that the basement was flooded. My heart sank.
Because of all the rain the day before and no power going to the sump pump, my craft room flooded and then spilled into half the basement. It was a very long and distressing evening. I threw out a lot of stuff but I’m so thankful it wasn’t worse. It’s still drying out but it was so hard to see my own special place like that and my husbands hard work in creating it for me threatened. My craft room was one of my dreams come true. Maybe that sounds silly but it meant a lot to me.
Enter a Saturday Lily Bee deadline. The layout I had planned to create on Friday and couldn’t because of the dark had to wait until after a University tour with my daughter on Saturday. I believe in meeting my commitments. So I sat in my damp soggy craft room and managed to create this layout from my heart.
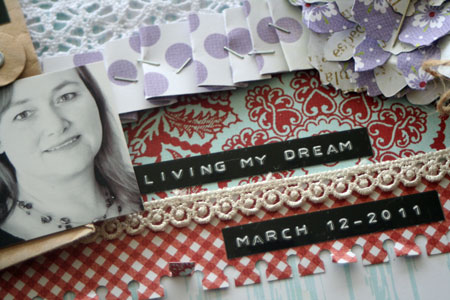
One of the things I realized this weekend is that I am living my dream.
Here.
Now.
I am blessed.
I still have a pocket full of dreams but the important ones, I cherish their fulfillment, each and every day. I love it when God gives me a little reality check. I just wish I didn’t have to learn the hard way.

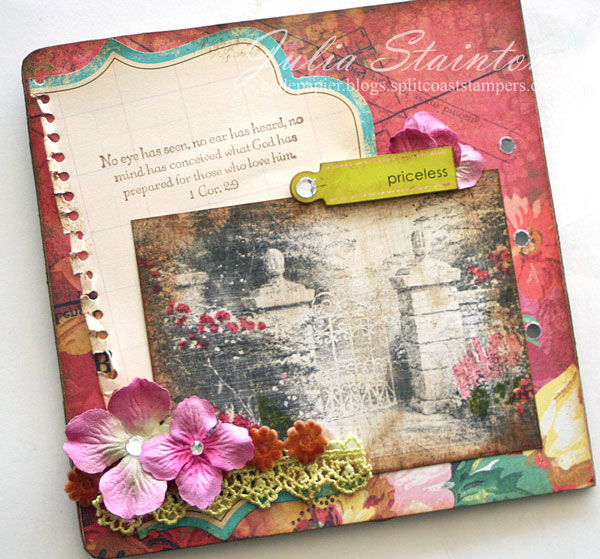
So finally! Here’s my layout. It may be my favorite to date because of what it means to me. It’s also my first layout created with my new Picket Fence line for Lily Bee Design. Picket Fence is the Monday Focus on the Lily Bee blog. If you’re looking for more Picket Fence inspiration…check it out here.
I have good news! Picket Fence along with the other fabulous Lily Bee Design releases are now shipping to stores! Keep an eye out for them!
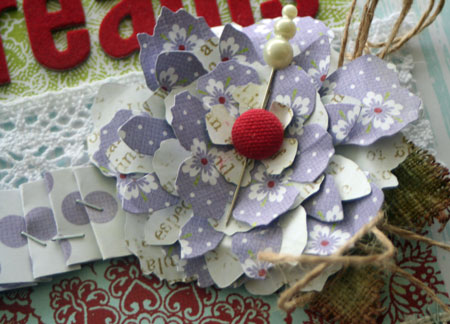
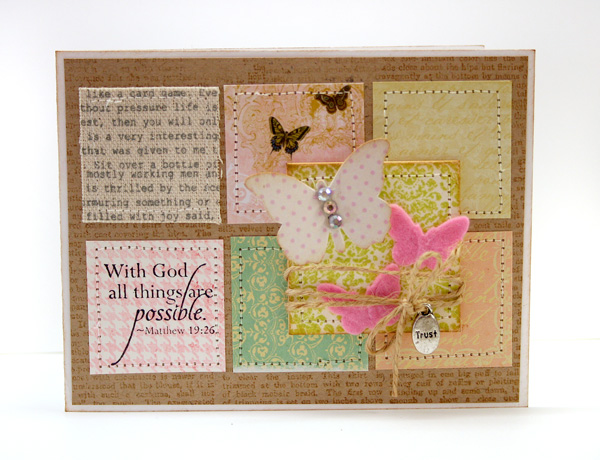
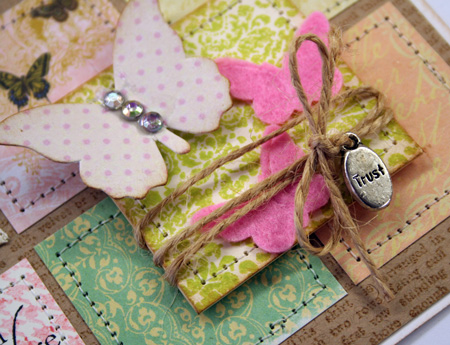
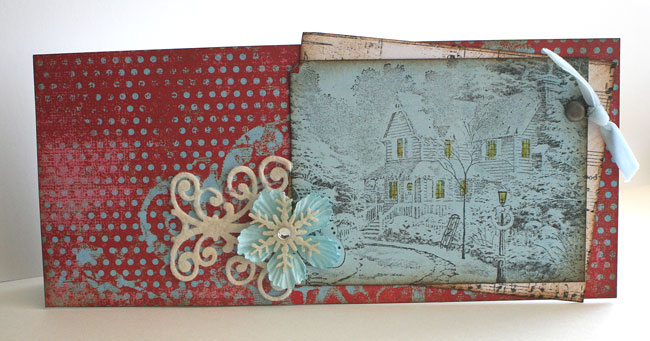
This flower is created with the Tattered Florals die and the Porch Swing and Fresh Air papers. I wanted a red brad center and didn’t have one. I found a neutral Zva brad in my stash and colored it red with a Copic Marker.
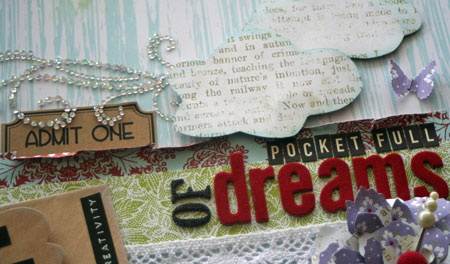
I encourage you to write down your dreams. Those that have come true and those you wish for. For the most part, I’m a pretty private person and the little pocket makes a perfect place to tuck those dreams inside.
Keep dreaming…