Category Archives: etc. every thing creative

13 more days

13 more days…

…until Spring!

Hooray! Of course that’s just the official date of spring on the calendar. Here in Ontario we usually get snow into April but that’s OK. I know that warmer days are coming.

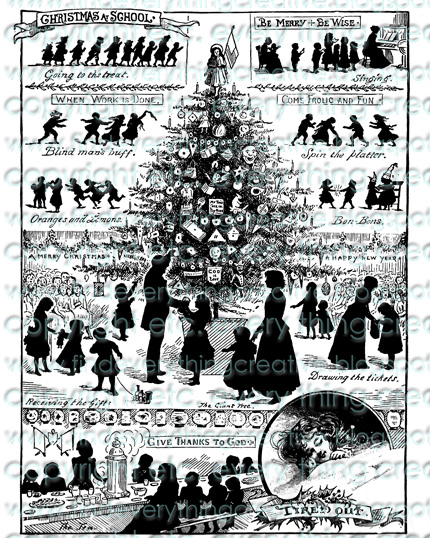
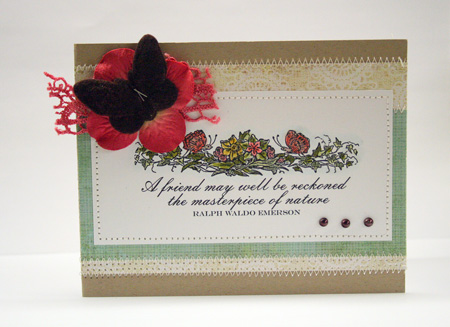
I was playing around with some scraps on my desk and decided to try out a new stamp that I’ve had sitting here, just waiting to be inked. It’s one of the new Hero Arts Clings and my first time trying one out. I have to say I’m hooked. Yummy red rubber and I love how easy it is to use.

Happy Spring

jks-happy-spring.jpg

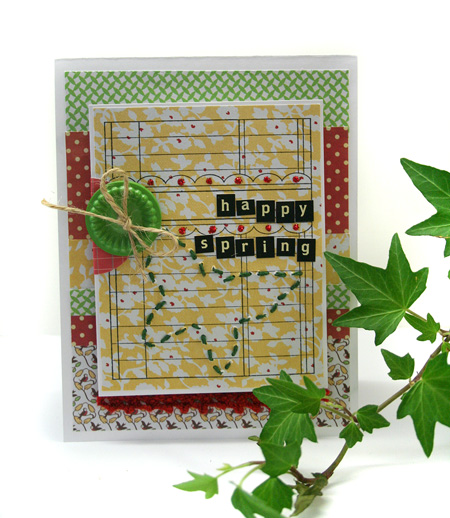
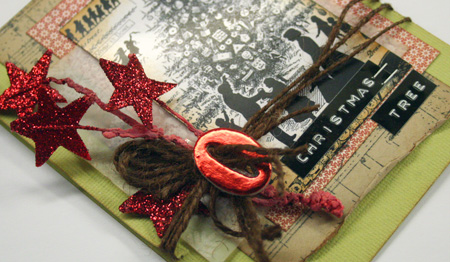
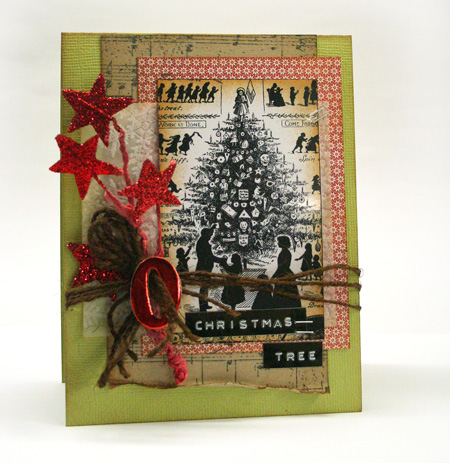
I had bits and pieces of these sweet Jenni Bowlin papers left over from Thursday’s card so I thought I’d put them to good use instead of throwing them out. 1″x4″ size pieces are really not worth putting away. I’m loving the bright happy colors of this Front Porch line and added rows of Stickle dots to the stamped image to highlight the scallops. The stitched butterfly is part of a Printable Pierceable file created for Every Thing Creative. I just printed the template onto some printer paper, cut out the butterfly and laid it over my layer. Simply pierce and then stitch with embroidery floss.

Supply List: Front Porch 4×4 patterned papers and Vintage Style Button Jenni Bowlin, Write You Own Cling Stamp by Hero Arts,  Black Archival Ink by Ranger, Tiny Type Letters by Cosmo Cricket, Simply Smooth White cardstock by Cornish Heritage Farms, twine, embroidery floss, Printable Piercing Basics Template by Every Thing Creative, Christmas Red Stickles by Ranger

Thanks for stopping by!

Ready for Spring

In the middle of cold January, it’s always lovely to dream of Spring. I has to be my favorite time of year. A time of growth and renewal with some new changes to see each and every day. One of my favorite things is the return of the birds and their singing. This sweet bird image reminds me of spring.

As birds are still super popular as a design theme, I thought it would be fun to use them as a theme for today’s Ways to Use it Challenge. Stamp a bird, use a bird shaped chipboard, a sticker, a die cut, whatever you can think of. If you’d like to play along…here’s the challenge. We’d love to have you join us.

Song for Spring Card

sing-for-spring.jpg

This sweet bird image is actually a digital Printable or digital stamp if you prefer to call it that. I’ve taken the image and then airbrushed and colored it with my Copic Markers. It’s been a while since I pulled mine out and it was fun to do some coloring again for a change.

Quick Tip: You can totally mix stamping with digital. For this design I overstamped my colored image with the Spanish Script Backgrounder in Shabby Shutters Distress Ink.

Oh. lol. Here’s yet another tip. Don’t have your card closed when you go to add some last minute stitching. 😉 I’m not sure where my brain was but I had to laugh at myself when I discovered that I had sewn the card closed. I guess this poor little birdie won’t be flying away anywhere in the mail.

Supply List: Songsheet Birdie Printable by ETC. ,  Spanish Script Backgrounder by CHF, Simply Smooth White cardstock by CHF, Copic Markers, olive & Kraft cardstock by Bazzill BAsics, sewing machine, flower by Prima, Silk Ribbon by May Arts, Journaling Tag by Maya Road, Trinket pin by Maya Road

Happy creating!

Always

I thought I’d mix things up a little this morning and share a few love themed projects I’ve been creating. I’m lovin the pop of red on these cold winter days.

This first card is one I put together from some fun elements from the Keep In Touch Card Kits. I love to collage pieces together and the vintage and eclectic look of these kits is so much fun!  The really neat thing about these kits is that each one is unique and Kelly has such a fabulous touch of putting all the goodies together.

Always and Forever

jks-always-and-forever.jpg

This second card uses my new ETC digital Printable to create a quick and easy graphic style card. The Printable is printed onto glossy photo paper for a crisp and clean look. The key is a darling little Tim Holtz Word Key.

Key to Love

key-to-love.jpg

Now I’m off to finish writing my Christmas Cards. Better late than never! LOL

Take care!

Ever Wondered?

Have you ever wondered how to go from this….

girl-ss-1.jpg

…….to this?

recoloring-ss-4.jpg

With some quick clicks on Photoshop Elements, it’s really not as hard as you might think. Actually…it’s super simple. I’ve written a tutorial for Every Thing Creative on recoloring your digital Printables. Check it out here.

 Have a creative day!

O Christmas Tree

o-christmas-tree-close-up.jpg

Do you have Christmas songs running through your head? I have quite a few favorites and they always put me in the holiday mood. Today’s Ways to Use it Challenge is to get inspired by those holiday favorites and create a card, tag or other project inspired by one of them. I had a lot of fun creating this card and hope you’ll join in and create with us. Check out the challenge here.

O Christmas Tree

jks-o-christmas-tree.jpg

As I’ve been wanting to design a project using this Christmas Silhouettes Printable image, O Christmas Tree immediately came to mind. Actually, I had printed out the image onto a 4×6 photo paper and love how crisp and clear it makes the image. You can totally get a different look just by changing the paper you print on. To create this card, I wanted to focus in on the tree so I cropped it with my paper trimmer and then sponged the edges with Distress Ink. I used all sorts of fun scraps off my desk to collage it together. My favorite part of the card is the O from the sentiment. I used an American Crafts thicker chipboard piece to accent the embellishment and finished it off with a Dymo Label Maker.

If you like using digital files for holiday crafting, I have a quick little graphic I created as part of a gift yesterday. I think it’s fun and am sharing it with anyone who wants to use it here.

noel-digital-art.jpg
Supply List: Christmas Silhouettes Printable by Every Thing Creative, Aged Sheet Music Scrapblock by Cornish Heritage Farms, kraft & olive cardstock by Bazzill Basics, flocked vellum by Making Memories, glossy photo paper by Kodak, mini patterned paper by Basic Grey, twine, label maker by Dymo, Tim Holtz Tiny Attacher, Galaxy Stars by Prima, Brushed Corduroy Distress Ink by Ranger, Black Memento Ink by Tsukineko

Happy Creating!

Just in Time…

Just in time for Christmas, I couldn’t resist adding a few more holiday Printables to the ETC. store yesterday.

christmas-silhouettes-water.jpgsweet-christmas-child-water.jpgenduring-love-printable-wat.jpg

Actually, the third one is more of a love theme but Valentine’s will be around the corner before we know it too! If you’d like to see the larger version, just click on the image. I’m hoping to find some time today to use them as accents on some holiday cards I still need to make. You can find the Printables in the Every Thing Creative Etsy store here.

I’ve also been busy decorating and shopping for the holidays. I’m so excited that the most of my list is crossed off and I’m hoping to make short work of the rest of it this week.  Last week I had a lot of fun with some easy holiday crafting that I’ve written about at finding beauty @ home. Each weekend has been bringing me a little closer to a finished craft room. I still have some painting left to do and hubby has to trim the window but it is almost there. I have a few sneak peeks here if you want to take a look.  I’ll let you know when I’m finally done it!

So that’s about it from me today. The house is quiet. The kids are all at school today. I’m off to put a dent in my to do list and then have some creative fun.

 Take care!

Print & Color

I love Mondays. I know not many people do but I love getting back into the routine, working on the laundry, getting things organized for the week. And being that I work from home, Mondays are usually much quieter than the weekends. I can actually get things done. Don’t get me wrong. I love Fridays too and spending the weekend with my family. I guess I just love something about every day of the week.

copic-colored-friendship.jpg

This morning I found some quiet studio time and created a couple ETC.  Printable cards  to share with you. I’ve used Copic markers on them both. Did you know you could use  Copics on ink jet printed images? I wrote a short tutorial about it at Every Thing Creative this morning with some tips on getting started. Check it out here.

copic-warmest-wishes.jpg

Thanks for stopping by!