Category Archives: Digital Designs

To Have & To Hold

I can hardly believe it’s been almost a week since that special day. Last Saturday my son, James and his wife were married and it was the most beautiful day. To see them both so happy together made my heart so full with joy. All of their siblings on both sides were in the wedding party and such a beautiful day and celebration of love & family.

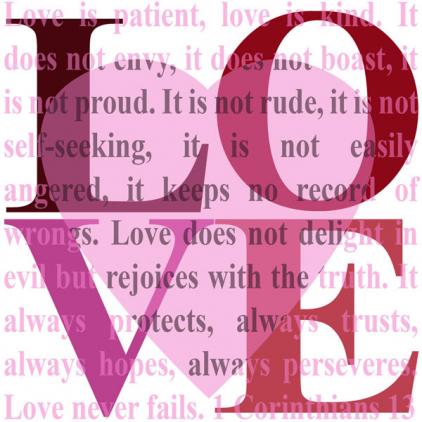
I had a very small hand in the wedding prep being the mother of the groom, but was thrilled to create a few digital projects for them. The above word art is one I created for them. A surprise for Shannon actually. It was framed 18×24″ and is for their new home but it decorated the wedding reception as well.

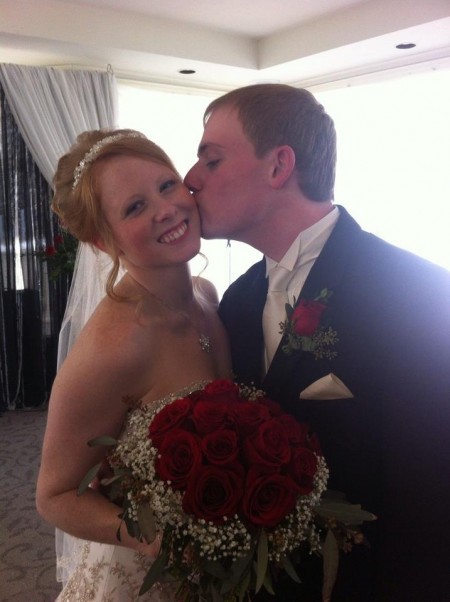
Trying to enjoy the day and keep track of my smaller children, the ring bearers, I ended up not being able to pull out my good camera and so, have very few pictures to date. The above photo is a quick snap on my phone, taken shortly after the ceremony.

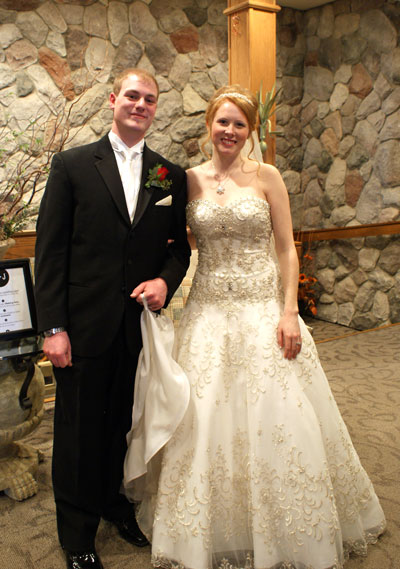
I’ve also been begging and borrowing photos from family and friends while we wait for the professional photos to come back. My sister-in-law Elizabeth took this one. I think they both look stunning.

Once again, James & Shannon, I wish you every joy and blessing!

a little love

So it’s January and the next big thing is Valentine’s Day. A sweet day to warm up a long winter.

Valentines are always fun cards to create. Often I make them shabby and layered but today’s design is quick and clean. I adore using rub-ons for this look and these sweet ones from the Pink Paislee Sweetness line are so pretty. I just love all the text on these.

Supplies: cardstock by Bazzill, heart trinket pins by Maya Road, Sweetness Press-ons & buttons by Pink Paislee

For those of you who enjoyed using my Noel digital file, it thought I’d share a love themed one with you.

To use it, click on it to enlarge and then save. I can be printed out for a hybrid card design. Please feel free to use for your personal use only and link to this blog rather than redistributing the file. Thanks!

Enjoy your weekend!

6 sketches & a digital file

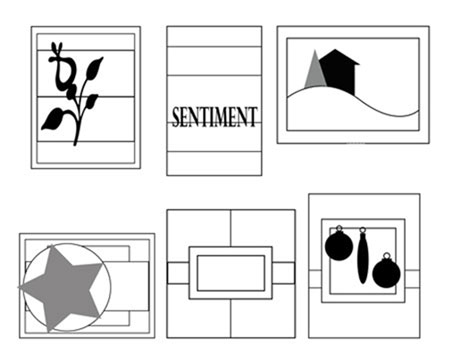
Do you like sketches?  If so, I thought I’d share the sketches that I drew up for the previous 6 Mitten Weather cards. You can use them to create Christmas cards or get creative and put your own spin on the sketches.

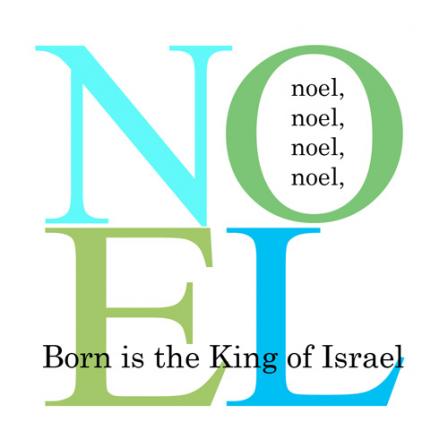
Another thing I have to share with you today is the digital file from my Noel King Card published in the Nov/Dec issue of Paper Crafts magazine. this card can be found on page 47. I’ve had a few requests on how to do this so I’ll share the basics on how I created it. For those of you who don’t want to bother with creating it yourself, you’re welcome to download the version below for printing off yourself.

To create this text art you’ll need to use Photoshop, Photoshop Elements or another graphics program. I created mine in PSE and here are the basic steps…

  • create a new 4×4 inch blank file at 300 dpi
  • go to view and then select grid to help you layout the project
  • creating a separate text layer for each main letter spell out N, O, E, L and arrange them into a square shape. add color as desired
  • Simplify or rasterize layers so that you can widen letters to form a square
  • add smaller type layers for the black sentiment additions
  • save and print as desired

Happy creating!

giving thanks…a digital gift & tutorial

Today I just want to say thanks.

Thanks for stopping by.

Thanks for taking the time to visit my blog.

Thanks for all the lovely comments you all leave.

Thank you for your friendship.

Today I thought I’d share a digital file I created a while back.

How can you use it? Just click on it to enlarge and then save it to your computer. You can print it off and use it as a card front, make an inspirational frame or even print on iron on transfer paper and iron it onto some fabric. Please feel free to use this file for your personal use only.

Giving Thanks in All Things – a digital printable gift
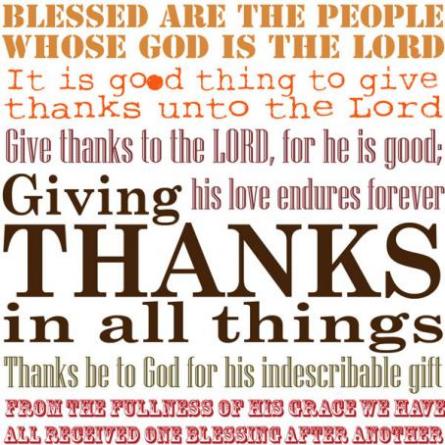
Here’s a reposted tutorial for a pillow I made using it last year. You just need to convert it to black and white first.

Transfer Art

It’s totally amazing how many things you can do with digital art once you start playing around with it. Lately I’ve been on a home decor kick and thought I’d try my hand at creating my own
Giving Thanks Canvas Pillow. I’m loving the concept that crafting projects can be practical and inspirational at the same time.


To create my pillow, I started out with some simple supplies…canvas, sewing machine and thread, my digital file, Avery T-Shirt Transfers and a pillow base. You can use a purchased pillow form but I kept this project inexpensive and simply covered up an old pillow that I just didn’t love any longer.

The Avery T-shirt transfers work well on cotton and cotton/poly blend fabrics and use an ink jet printer. I purchased mine at Staples but you can also find this product on-line or at other office supply stores.

The Giving Thanks Printable suited my thoughts for this time of year. I could have used the color version but decided to use the black and white image as I loved the graphic look of all the text. One thing you need to keep in mind when printing images is that they will be iron=on backwards. That means if you are using text, you’ll need to flip your image to make it print in reverse. There are many ways to do this depending on your software. I use Photoshop Elements and it’s very easy to do. Hit Print or Ctrl P to print your image. You’ll get a screen like my screen shot below. Simply check the flip image box and you’re good to go. If your computer doesn’t have this function…try sticking to images without text.


One other thing to mention…I actually resized the Giving Thanks Printable for this project to 6″ square.


Follow the Avery instruction sheet included in the package. Iron with no steam with firm pressure for best results. Allow to cool then carefully remove backing.
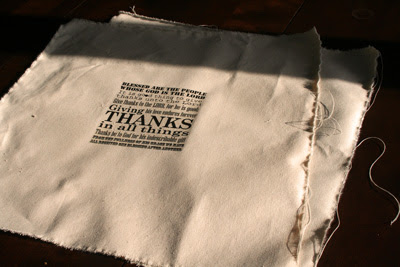
To create your pillow cover, cut (I like to tear on grain) your fabric to the desired size. I uses 21″ panels. Pin edges with outsides facing in. Stitch around edges leaving a space on one side for turning. Turn right side out and press well. Insert pillow form and stitch closed.

My pillow cover ended up a bit too large for the insert so I took the project one step further. I created a border by pinning the excess on all sides together and then stitched an even distance around the perimeter of the pillow.


So that’s it! A fun pillow. It might be fun to sew another with a holiday image next. Also…think about all the possibilities for the Iron On T-shirt Transfers. How about ironing an image on an apron, a premade canvas tote, a pencil case or some other creative idea.

Hope you enjoy it! Happy creating!

oh baby

I adore babies. How can anyone not? While I love them all, my favorite babies are bald and chubby. I guess they remind me of my own.

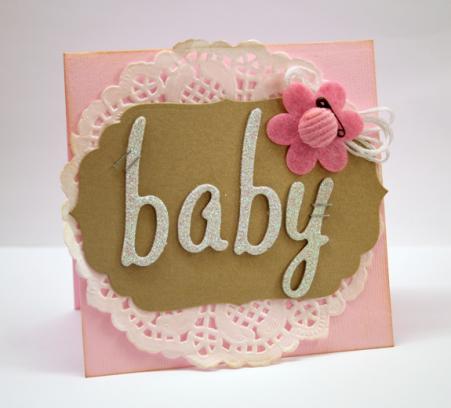
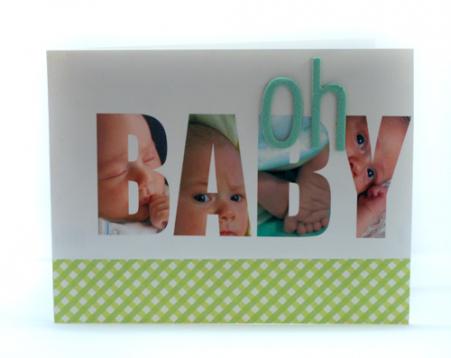
Here’s a couple baby cards to share with you today. One is sweet, shabby and girlie and the other clean and graphic and can go either way.

Baby Shimmer Card

Lots of shimmer on this card in the gold cardstock and the glitter letters mixed together with the soft textures of the brad, felt and doily.

Supplies: cardstock by Bazzill, doily by Little Yellow Bicycle, Distress ink by Ranger, Labels Four Nestability Die by Spellbinders, felt flower and brad by Zva Creative, mini  pins by Tim Holtz for Advantus, Tiny Attacher, glitter Thickers by American Crafts

oh BABY

This is a hybrid card. The sentiment was designed on the computer, printed out and some patterned paper and Thickers added. You’ll need some basic Photoshop or Photoshop Elements skills to do this. Use a bold type and spell out the word baby. Make sure you make each letter a separate text layer and then rasterize to make it a shape. Layer your photos over each corresponding layer and use a clipping mask function to turn the photo into the letter shape.

Supplies: photo paper, PSE by Adobe, patterned paper by Jillibean Soup (i think),Thickers by American Crafts

P.S. Isn’t the baby adorable? It’s my youngest when he was brand new. Hard to believe when I look at him now.

Have a sweet day!

Ever Wondered?

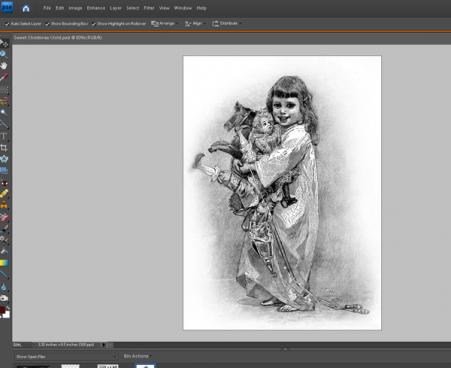
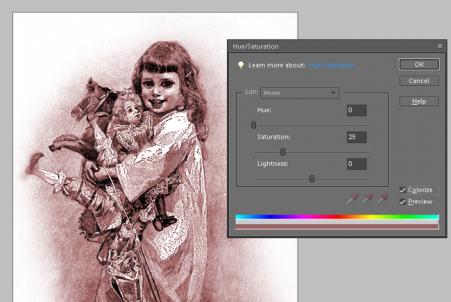
Have you ever wondered how to go from this….

girl-ss-1.jpg

…….to this?

recoloring-ss-4.jpg

With some quick clicks on Photoshop Elements, it’s really not as hard as you might think. Actually…it’s super simple. I’ve written a tutorial for Every Thing Creative on recoloring your digital Printables. Check it out here.

 Have a creative day!

Digi Dabblings

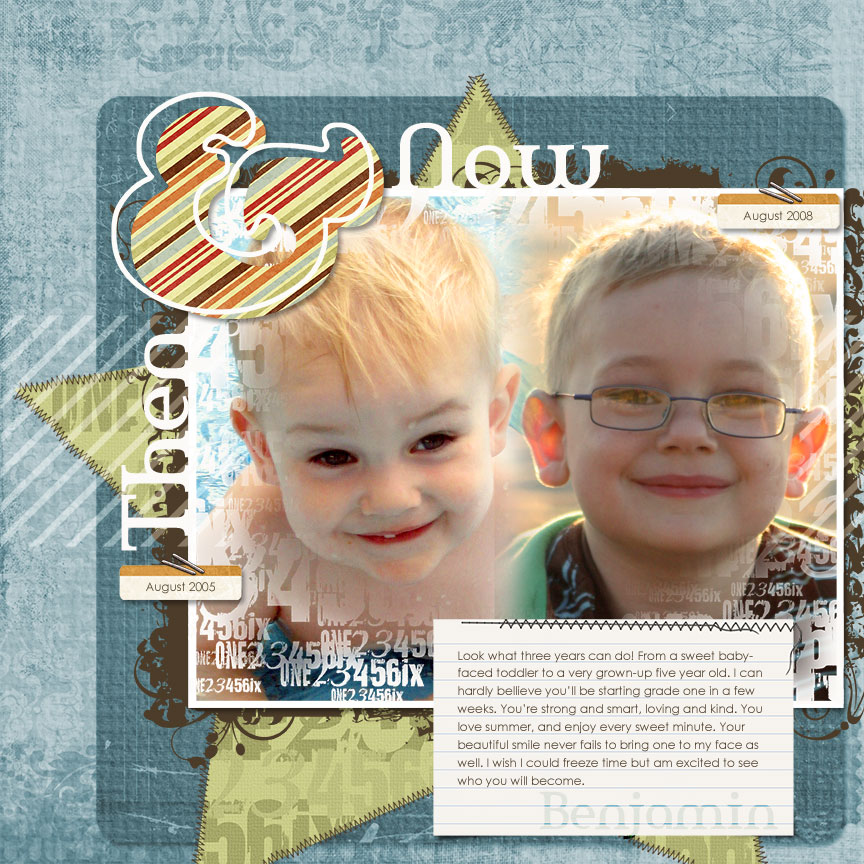
I’m still hard at work on my Jessica Sprague Digi In Deep class. I’m totally thrilled with how much I’m learning and I have to say…my brain didn’t hurt so much this week. I think I’m getting back into the digi swing of things. If you do digi, the best tip I can give is to keep at it! That way you keep learning and aren’t so likely to forget what you’ve learned. One of the best things about JS classes, is you can go back and watch the videos again and again if you need to. Perfect for those…”hmmmm, how DID I do that?!” moments.

Now and Then (click for a closer look)

week-2-layout_edited-1.jpg

This was a great class. I learned how to create patterned paper from brushes, add stitching, blend photos together, add textures, recolor things and the list goes on. I had hoped to get assignment b done to share with you as well today but I need a few more hours in my day! Michele Boyer has graciously offered to host today’s Ways to Use it challenge for me. I’m not quite sure what she has up her sleeves but with such a sweet and talented gal…I’m sure it will be a good one!

Have a fabulous day!
jks-spring-signature.jpg