There’s nothing quite like a challenge to get your creativity going, is there? When I first started paper crafting, challenges got me hooked on stamping. They encouraged me to try new things and I loved being part of the crafting community. Participating almost daily in challenges helped me to develop my own style and pushed me to improve my designs. Challenges will always be part of my creative process whether they be online challenge, design calls or the challenge of creating with new products.
One challenge site that I’ve recently discovered is the CASE Study Challenge Blog. It’s a fun and unique site as each month they feature a guest designer for each of their weekly challenges. I’m excited to be their October guest designer for the duration of the month. For each week, they’ve chosen a design that I’ve created in the past and use it for inspiration for their design team. The exciting thing is you can use the designs to inspire you to create anything at all. You can choose to be inspired by the layout, by the color scheme, by the technique or just by some element of the design. How fun is that? I love flexibility!
Another thing that excites me about this month is that I’ll be playing along with the CASE study design team to create something new. I’ve been feeling a little dry in the creative department lately so I’m enjoying these challenges to hopefully rev things up a little.
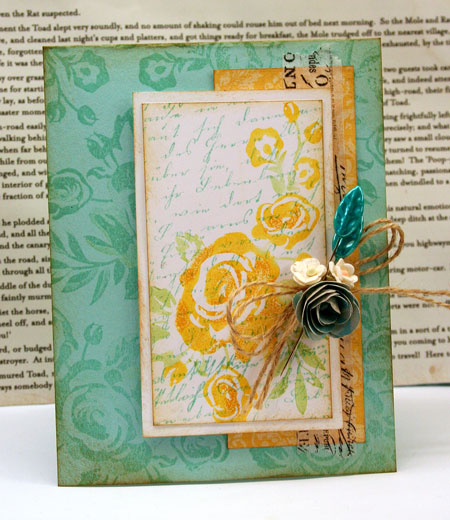
Today’s card was inspired by a card I created for the CLASSroom nine months ago. You can find this inspiration piece and the design team’s take on it on the CASE Study blog here.
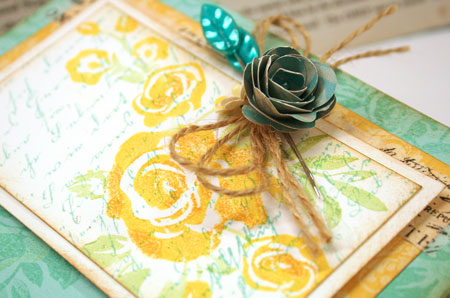
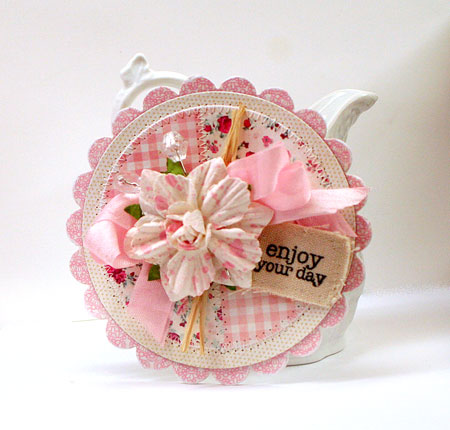
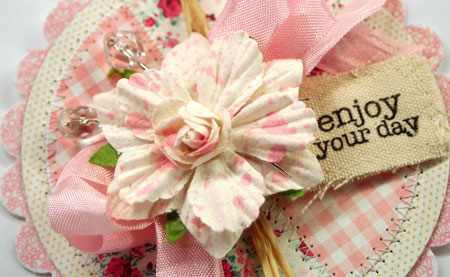
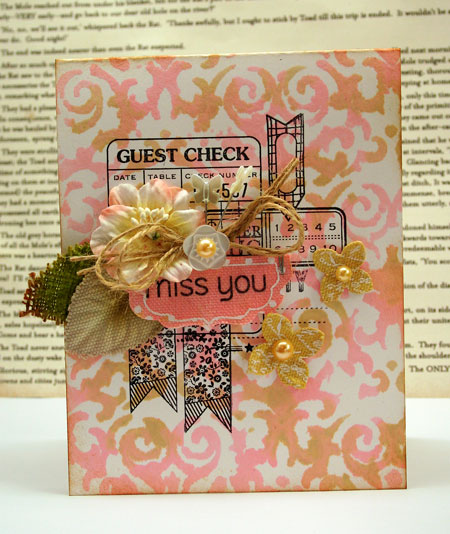
It may be a little bit difficult to see at first what inspired me so I’ll get you up to speed. The color scheme is very similar and I was inspired to use Ranger Distress Stains and the Prima Resist Canvas again. The resist canvas flowers and tab are colored with distress stains and I’ve also created the background with the stains as well.
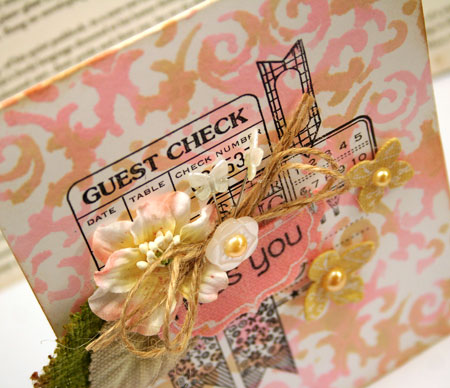
I love the effect I ended up with by layering the card with a mask and then dabbing on two colors of distress stain. To make sure that the inks didn’t run, I dried the cardstock well with a heat gun before stamping on it.
This card made its way across the miles to my daughter whom I’m missing dreadfully. I can’t wait to see her for Canadian Thanksgiving this weekend!
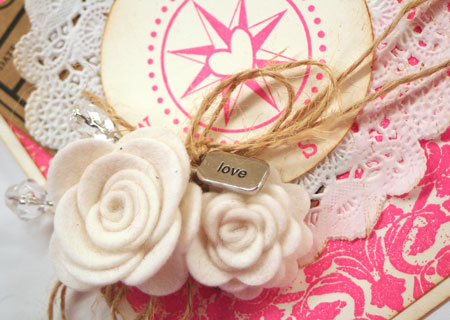
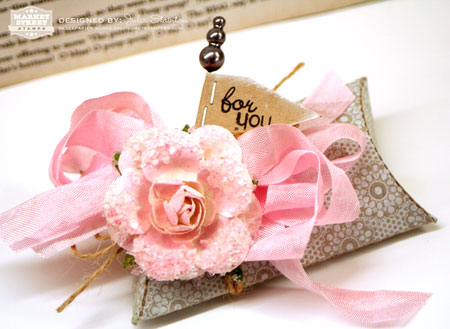
Supplies:
|
|