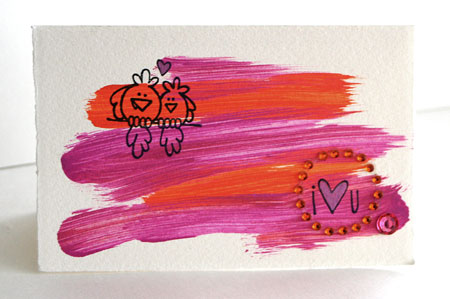
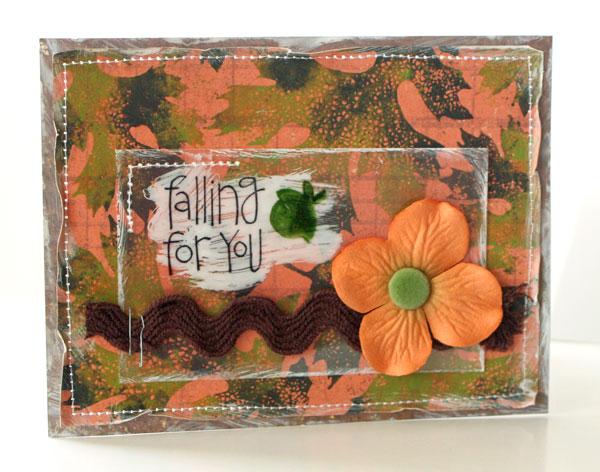
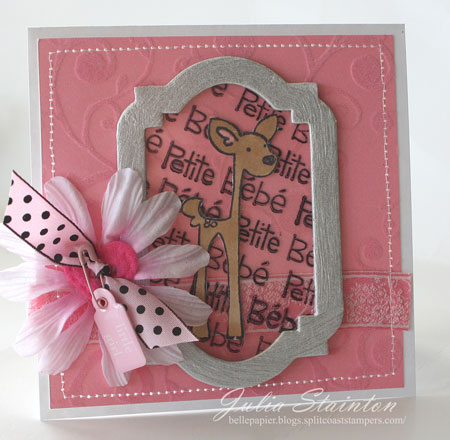
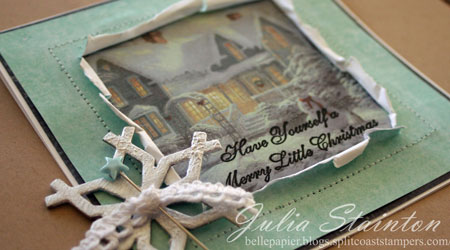
It’s been such a beautiful weekend I’ve been out enjoying the wonderful weather. Finally, there is green grass, perennials coming up, tulips blooming.It’s dandelion season again and I have been blessed with some beautiful bouquets. It’s all how you look at it right? Strawberries are on our table quite a bit now as the stores have lovely ones right now. The little boys are eagerly awaiting strawberry season in about 6 weeks so that we can pick our own. The teenagers of course, are not so thrilled about the outing. Hope you’ll allow me a little spring-time photos and thoughts. Just so you know…my Feedblitz updates have been hit and miss the past few days for some reason. You may want to scroll down as there are a few new designs there.

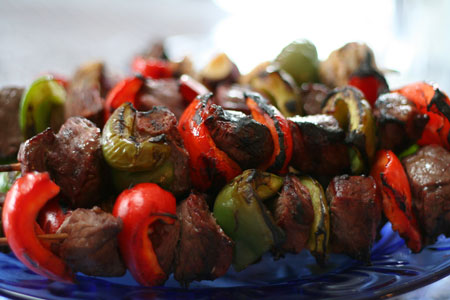
And what’s Spring without BBQ? My oldest son made these for dinner Friday night. I wasn’t having a great day but what a yummy way to end it!
While I don’t have a new C’est Bon product for you today, I thought it would be fun to revisit the some of my past entries and update you on whether I’m still using that product and still love it. What gave me the idea was a trip back through memory lane, looking to see what I had written. I was amazed that there were so many and it was so interesting to find that almost all of the reviews, even those from two years ago are pretty much how I feel about the products today. If you’re thinking about purchasing one of these products, you may want to check out the details below. I’ve listed links to all 42 of them.
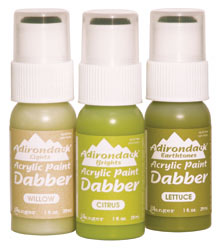
- Ranger Paint Dabbers – Dec 08 – still love these and collecting them like crazy.
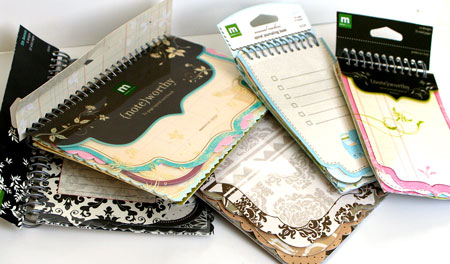
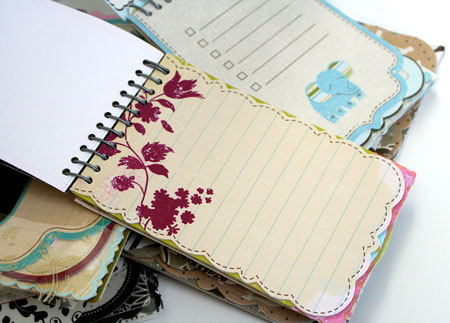
- Making Memories Journaling Pads – Nov 08 – yep…just bought some new ones of these!
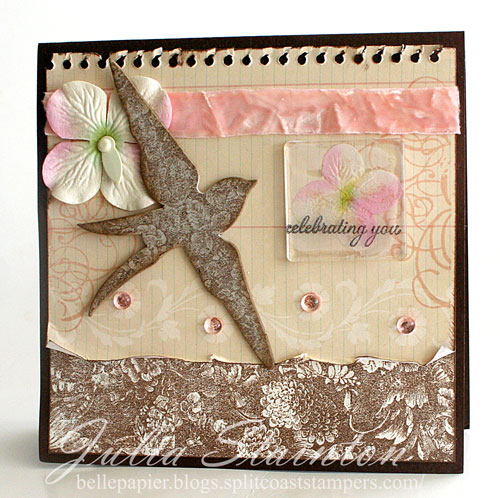
- Prima Decorative Tape – Nov 08 – still love this product but find it hard to locate
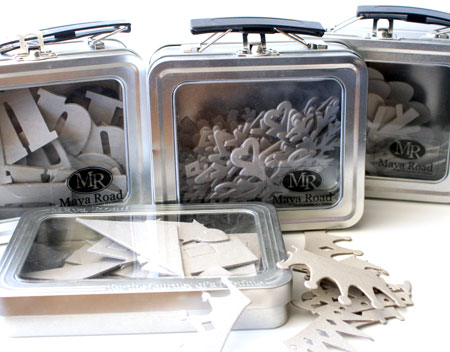
- Maya Road Chipboard – Nov 08 – hands down this is still my favorite chipboard
- Jessica Sprague On-line Classes – Oct 08 – I’m more addicted than ever! I start a new course tomorrow!
- Copic Sketch Markers – Aug 08 – Love, love, love these markers…I’m still collecting
- Creative Impressions Brads – July 08 – I haven’t bought any new ones but am enjoying working my way through these
- Zots Glue Dots – July 08 – I just cannot create without these!
- Prism Cardstock – June 08 – I’m still using Prism cardstock but am having fun using some Bazzill too
- Avery Shipping Tags – June 08 – wow…haven’t used these in a while but they are still a great product
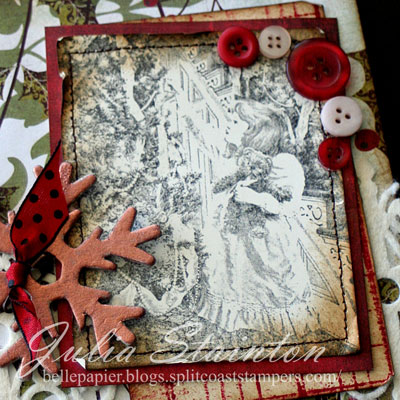
- Autumn Leaves Buttons – May 08 – I adore these buttons!
- Basic Grey Cutting Mat – May 08 – I’ll be honest…I haven’t used this much over the past few month. I’m hoping to find a better work-spot for it in my new room
- Robin’s Nest Dew Drops – March 08 – I’m not using these much right now. I need to revisit these
- Terrifically Tacky Tape – Feb 08 – I still use this all the time for altered projects
- Curvy Cutter Circle Template – Feb 08 – Still my go to tool for cutting out larger circles. For smaller ones I use Nestabilities dies or circle punches
- Flocking – Feb 08 – I love the look of flocking but for the most part…I’m too lazy to fuss with the mess
- Basic Grey Rub-on Roller -Jan 08 – still my favorite rub-on tool
- Making Memories Textured Tape – Jan 08 – I love this tape…wish they’d come out with some new designs in it
- Tonic Scissors – Jan 08 – If you cut rubber…you DON’T want to be without these
- Fancy Pants Fashion Sense Pins – Dec 07 – PLEASE Fancy Pants…make some new releases of these! They are darling!
- Rhinestone Singles – Dec 07 – I love this bling!
- Christmas is Coming recipes – Nov 07 -yep…still make these. Check out the recipes if you need a sugar fix
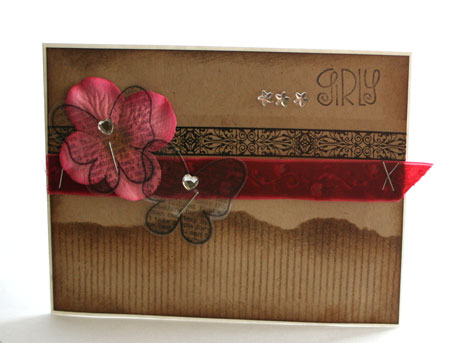
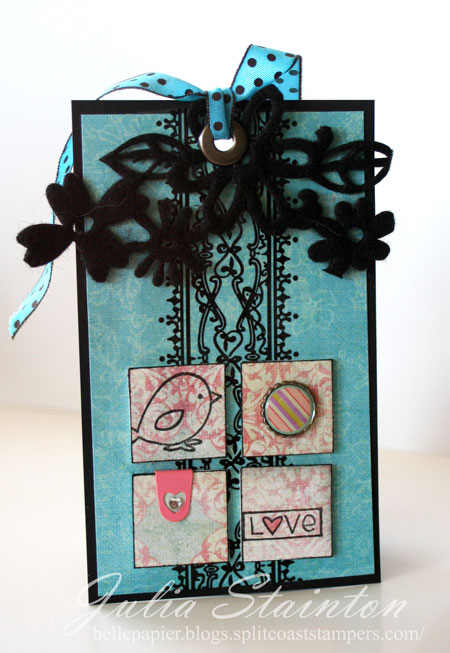
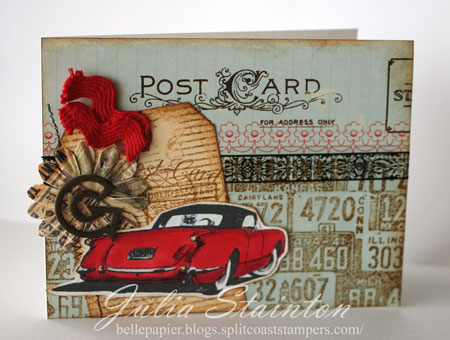
- Scaled Down Paper Pads – Nov 07 – I love 6×6 and 8×8 paper pads. They are economical and PERFECT for cards
- Designer Snaps and Eyelets – Oct 07 -these are beautiful but I tend to hoard them too much
- Heidi Swapp Edge Distresser – Oct 07 – This cheap little tool is still going strong!
- Fiskars Mini Precision Scissors – Sept 07 – I still have three pairs of these and use them all the time. I do like the
- Cropper Hopper Ribbon Storage – Sept 07 – It’s still a great way to store ribbon. It is a bit of a pain though to open and close the drawers and wrap the ribbon. I’m still searching for the perfect solution
- Scotch Quick Dry Adhesive – Sept 07
- Cropper Hopper Ribbon storage part one – Sept 07 – I rarely use ribbon in here any longer. Is it because I don’t use so much ribbon or is it because the storage is a bit of a pain? Hmmmm…
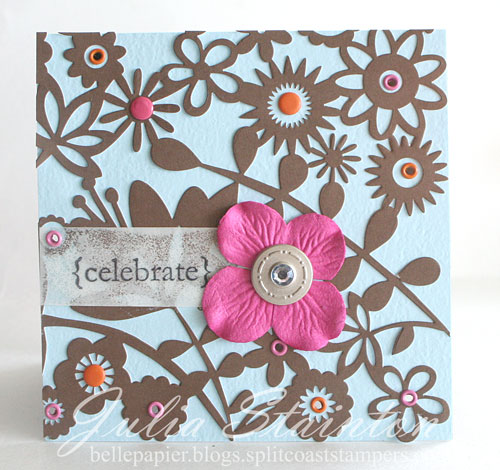
- Prima Flowers – Aug 07 – Have you seen my designs lately? Yep! I’m still a SERIOUS addict!
- Craft Mates Locking Caddy – Aug 07 – I love how my little ones can’t get into these!
- Shabby Princess – July 07 – Still a great resource for digital designs. I mostly by from Designer Digitals now though.
- Palette Hybrid ink – July 07 – this is still a great ink I often use. My latest go to favorite is the Memento Ink line by Tsukineko now. I can use it with Copic markers and it works great on rubber and clear stamps
- Tonic Guillotine Paper Cutter – July 07 – The best Crafting purchase I EVER made! The blade is sharp and this has saved me a bundle!
- Quickie Glue Pen – June 07- great little pen to have on hand
- Scalloped Punches – June 07 – I’m not so much into these now. I really should sell as I mostly use Nestability dies now.
- Crop-a-dile – June 07 – Love the first version! A+
- Dymo Label Maker – May 07 – fabulous for creating your own sentiments and I LOVE the retro feel!
- Crystal Effects – May 07 – I no longer buy this but the Ranger Glossy Accents instead. Identical product though if you want to read the tips.
- Basic Grey Precision File set – May 07 – Wish these were a tad stronger but they are still fabulous for sanding chipboard
- Karen Foster Snap Stamps – May 07 – These are no longer on the market but were a great concept
- Scrapbooks Etc. – April 07 – I’m still buying each issue but have to buy Creating Keepsakes each issue too.
Anyhow…this gives you a bit of reading for today if you’ve missed something. If not…get outside and enjoy the beautiful spring day!
Have a good one!


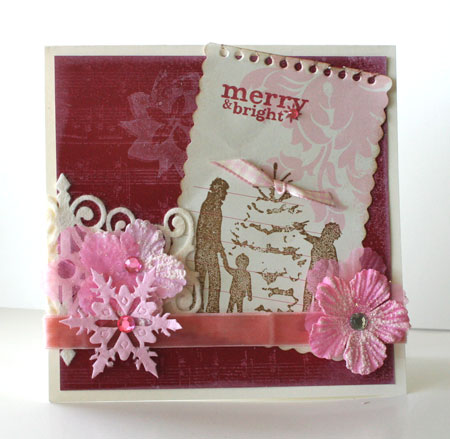
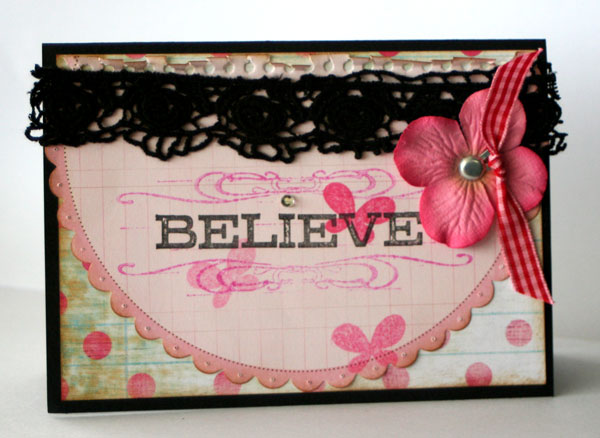
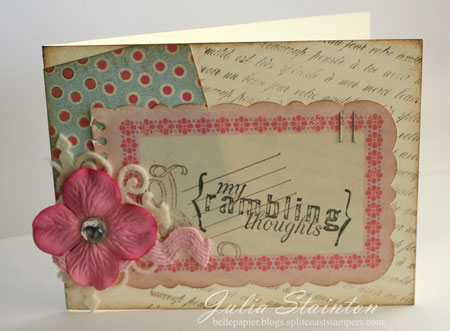
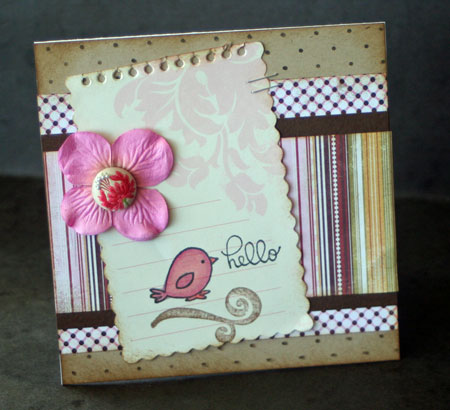
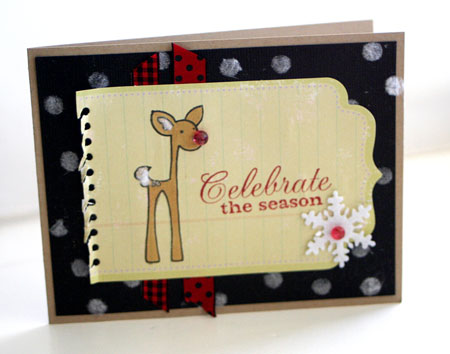
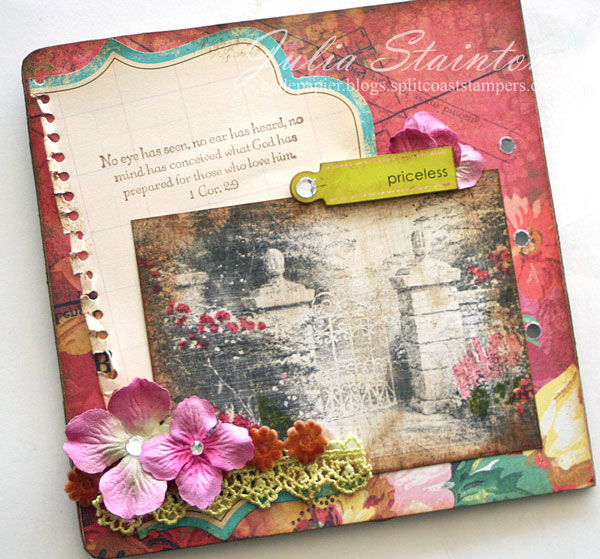
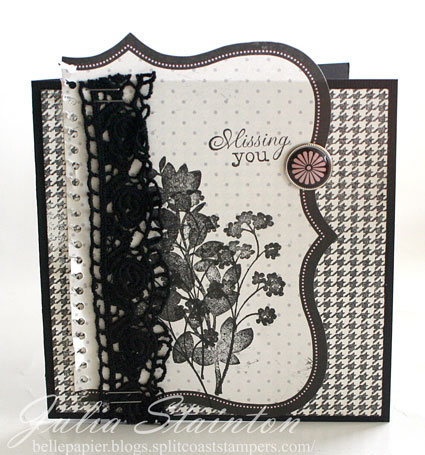
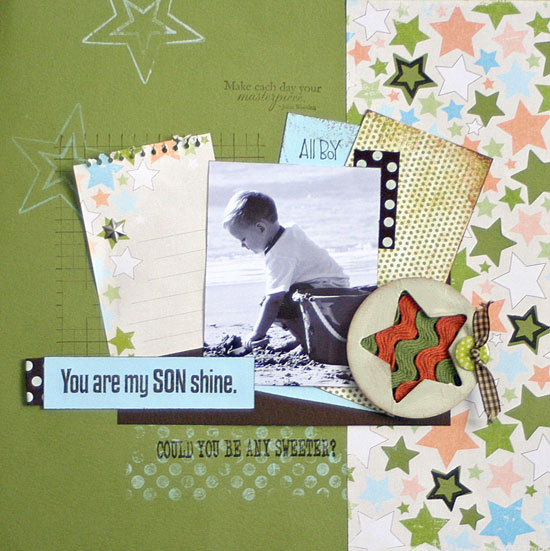
 Ideas for Using Journal Sheets