Category Archives: Card Designs

a card for dad

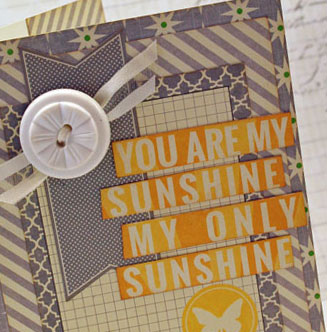
Today’s card is for a very special dad…mine. Yesterday he celebrated his 77th birthday and of course, I made a card for him. This man has not retired yet and is still going strong. He amazes me!

Happy birthday to my wonderful dad!

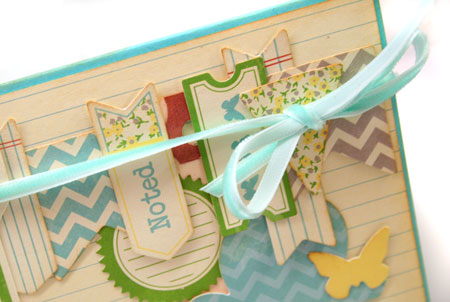
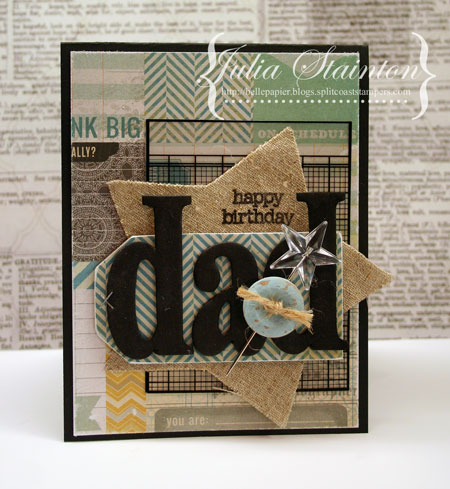
With Father’s Day coming up, this card can be easily changed up to work for that occasion. How about switching out the birthday sentiment for something more like…you’re the best or the standard, Happy Father’s Day?

I guess in some ways, I’m a bit of a girly-girl. Most of my designs are ultra-feminine and I admit that it can be a bit of a challenge to design a masculine card.

Here’s a few tips I have…

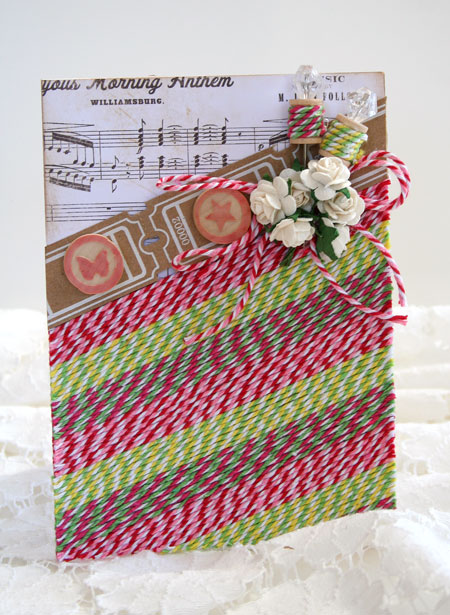
  • use a dark background
  • add texture for interest
  • use masculine colors: blues, greens, browns, red
  • geometric and grid prints work well
  • go bold with a focal point
  • metal and hardware make perfect accents
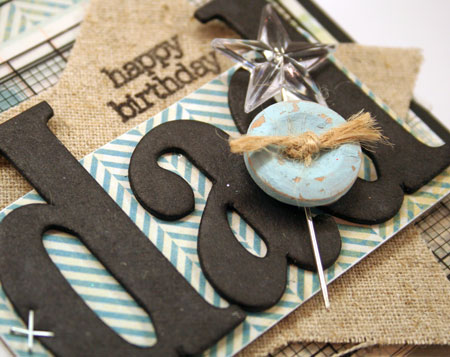
Design Notes:

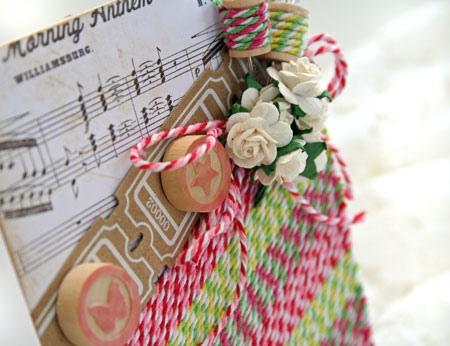
  • chipboard letters are quickly colored with Copic Markers
  • a paint dabber adds acrylic paint to the button and it’s sanded once dry for distressing
  • stamping on linen is easy with Archival Inks
  • the ledger transparency is a retired product from Maya Road…sorry it’s no longer available
  • the button and other heavy embellishments are adhered using a hot glue gun
  • oops! forgot to include the stamp set below…the stamp is from the Hero Arts Cleardesign: It’s Your Day stamp set

Have a creative day!

Supplies:

Transparencies & Overlays

Lately I’ve been enjoying some new overlays in my craft room. I’m ecstatic to see more of these back on the market. There’s just something so cool about them that I love designing with them.

Today I’m back in the CLASSroom sharing three transparency/overlay card designs with different ways to attach them to your projects. I hope you’ll join me here!

Have a wonderful weekend!

Baker’s Twine Bliss

Baker’s Twine is just one of those  simple crafting products that just makes me happy. The bright colors make it fun and there is just so many things you can do with it. Brown paper packages especially look darling tied up with it.

My favorite Baker’s Twine hands-down has got to be Maya Road. Their twine cording is sturdy and doesn’t drop. I hate droopy bows. It’s three-ply so you can get a great triple color combo too.


The other day I really wanted to try out doing a twine background with it and I loved the results. It’s really easy to do with a few simple steps.

Baker’s Twine Background Steps

  1. Adhere double sided adhesive sheet to the area you wish to cover.
  2. Remove protective backing.
  3. Adhere lengths of twine across panel and press securely into place. I liked to leave 1-2″ looped at each side and just make a few passes with each color.
  4. When background is covered, trim off excess loops from edges of card base.

The little wooden spools also look darling wrapped with coordinating twine cording.

Have a creative day!

Supplies:

my etsy shop

Etsy is a wonderful place to shop. It’s full of crafting supplies and better yet, handmade creations that will inspire you and be amazed at all the creativity these artisans and crafters have.
Some of you may know that I have an Etsy store. Because the last few years have been a little crazy, I put it on hold for almost two years. In the meantime, I’ve created quite a stash of handmade cards and projects. So many that I could never use them all up myself.

Now seems like the perfect time to jump back in and get Belle Etsy up and running again. I’ve been busy listing and here’s a peek at a few of the designs you can find there. I’d love for you to pop by and have a peak!

If you’re interested in my creations, stop back regularly as I have a ton of cards still to list. An easy link is at the top of my right sidebar and you can like the etsy shop on Facebook here.

Thanks so much for your support!

Card Kitchen Wrap Up

It’s Friday, the end of the week, and the perfect day for wrapping up my designs for the Card Kitchen.

Most of my projects are heavy on the embellishments but this kit and all it’s fun paper elements, made me look at paper and stickers in a new way. For the above card, I created my own floral embellishments by handcutting some rolled paper roses to accent some sweet diecut windows.

My second card has a finished inside panel as well. The sentiment starts on the front and continues inside the card. It was created by cutting up a journaling card.

Check out the full cards here. Thanks so much to Card Kitchen for asking me to guest design for them. I had a blast and the kit was fabulous!

Have a fabulous weekend!

Card Kitchen – part 3

Two more card projects have been cooked up for the card kitchen. These two designs focus on the great die cut embellishments that are part of April’s kit.

I love sponging the edges of die cuts with some soft subtle ink like my favourite Brushed Corduroy Distress ink. It’s one ink that I never put away as I hardly ever make a card without it.

I even sponged the edges of the word sticker before adhering it.

For the full versions of these cards, stop by the Card Kitchen Blog.

Take care!

Card Kitchen part 2

Back in the Card Kitchen today with two more card designs. These two projects are all about pattern and playing with the print of the papers.

This first card was inspired by the grey grid paper. It makes a great background to alter and by adding 1 inch squares, you get a fun dimensional layout.

The second card plays around with the fun green chevron print. Cutting it apart makes for some interesting borders and a peak behind it at the butterfly print.

Check out the full versions of these card design on the Card Kitchen Kit Club blog here.

Thanks for stopping by!