Last week I promised you a tutorial and finally, here it is! Thanks so much for your patience on the wait. You know how it is….”the best laid plans of mice and men”. I had great plans for last week but life happened. I did really enjoy having my daughter home for the week and I think you’ll agree with me that family comes first.
If you’re just joining me and wondering about the tutorial, I created a double masking technique for a card that I submitted to Stamping Royalty 2011. You can find the original design here. I’ve had some requests on how to do this and so I decided to recreate the original card but with a holiday spin on it.
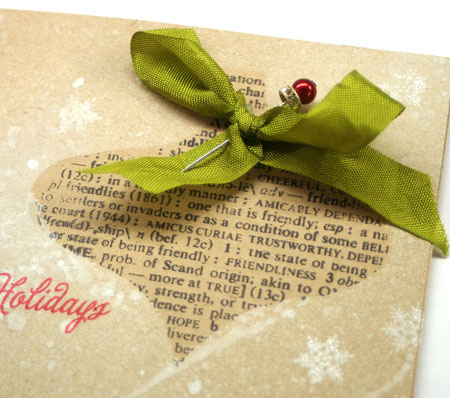
Double Masked Ornament Card
As you can see, the above card uses the exact same technique. Double Masking is great for using background stamps and also for using for your dies for more than just die cuts.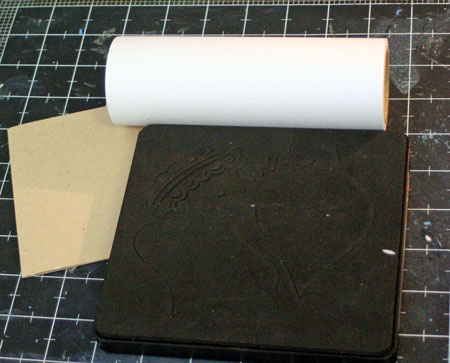
To start off with you’ll need your die (I’m using the Sizzix Ornaments #3 die) some Eclipse Tape or other masking material and your card base and some stamps and inks.
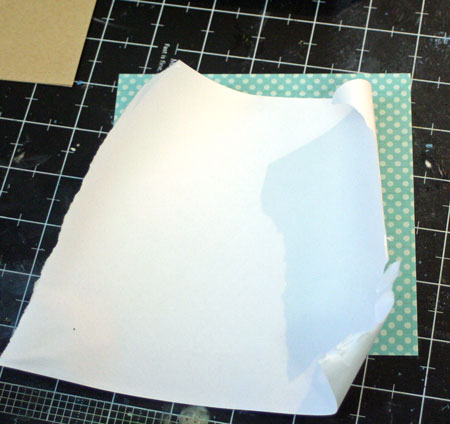
Eclipse Tape is a super light paper with a low tack back are is high on my favorites list for very easy and precise masking. To die cut it, I placed it on a piece of patterned paper so that it doesn’t stick to the die. You can use scraps or whatever you have on hand. I just decided to use this sweet dotted paper and keep the die cuts for another project. Multi-tasking at its best!
The the paper and Eclipse Tape through your die cut machine.
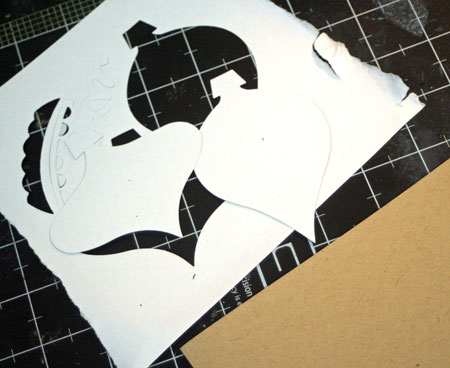
You’ll end up with both the reverse and positive images. Don’t throw anything away. You’ll need both pieces.
Place your die cut mask onto your card where you wish to stamp your image. As you can see, this die cuts more than one ornament at once. I just cover up those extra space with more tape so that I don’t stamp them by mistake.
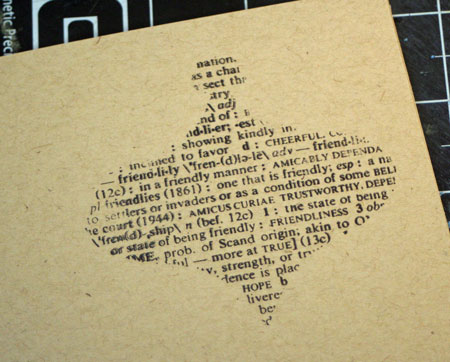
Stamp your background stamp onto the card and remove the mask. You’ll end up with something like this.
Next take the positive piece of mask and place it OVER the stamping.
Mist area around ornament. I’ve used Mr. Huey’s White Mist by Studio Calico.
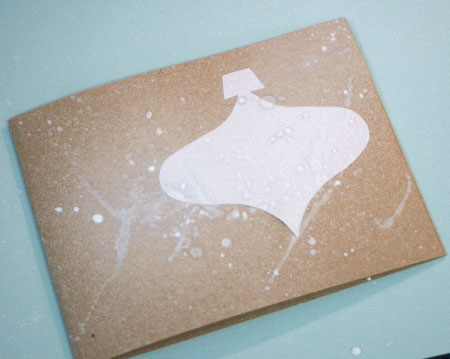
Remove the mask and you are done double masking your design.
To finish it off, stamp the sentiment and add a few embellishments to make your card sparkle.
Supplies:





14 responses to “double masking…a tutorial”