Monthly Archives: March 2011

A Couple Cards

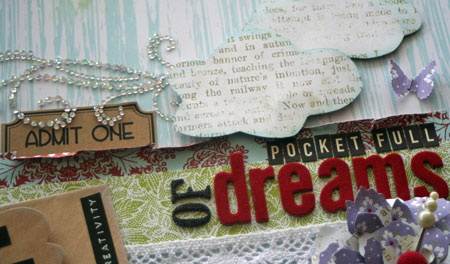
I spy Picket Fence! It’s so exciting to see it hitting the market. If you’re looking for it, the first place I’ve seen it so far is at Ellen Hutson LLC. Picket Fence is just one of three beautiful lines being released by Lily Bee Design this season.

So how about a couple Picket Fence Cards today? I know it’s been a while since I shared a card so let’s go with two.

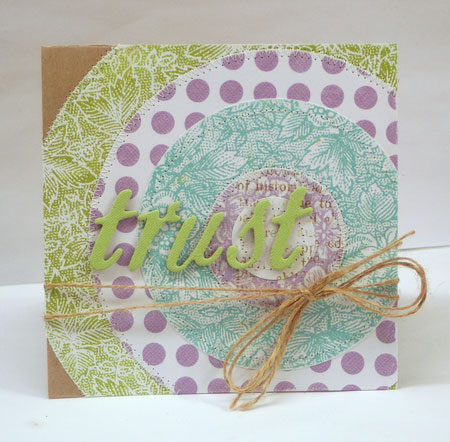
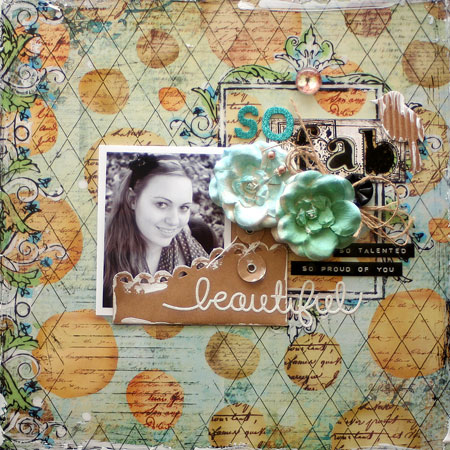
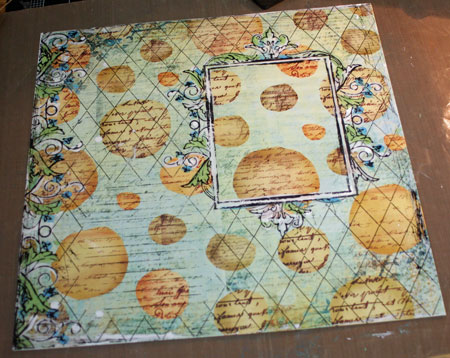
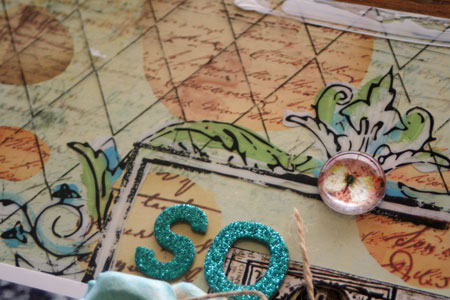
This first card uses some of my Picket Fence papers and this unique sketch. If  you’re looking to print it out to work from, you can find the sketch design here. I used the EK Success Circle Cutter to cut out all the circles. I’ve been a huge fan of this system since I first tried it out and it’s perfect for cutting out those larger sized circles.

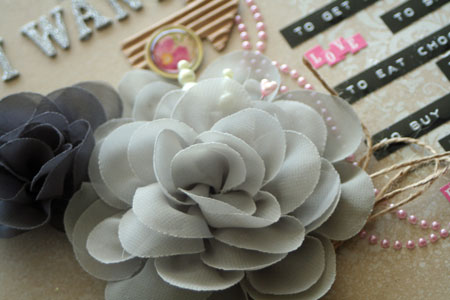
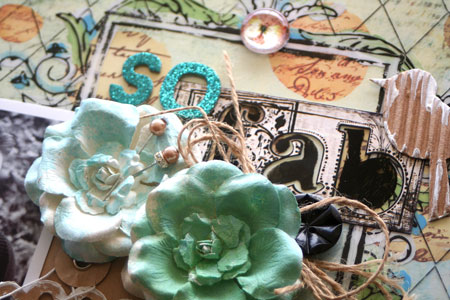
I was thinking summer birthday when I designed this card. The tissue paper flower is die cut from layers of tissue with the Tattered Florals die. I know, I know. I ADORE this die. It’s just SO versatile.

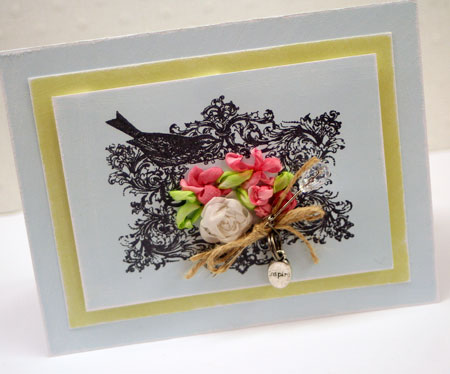
While we’re on the subject of cards…I was so excited to wake up this morning to Moxie Fab World. My Cameo Card was one of the Stamping Techniques Challenge winners. Thanks Cath! I’m totally honored to be chosen as the other cards are super stunning. Want to take a peek?

As a craft room flood update… Thanks so much ladies for your support, lovely comments and wishes and even offers. Your kindness means so much! I’m doing fine with it. The dehumidifier is still working overtime but pretty much everything has dried out. I need to spend a couple more hours sorting and organizing today and I should be pretty much back to normal. Not my favorite way to spring clean but at least it’s done! I can’t wait to sit down and get back to creating!

Have a beautiful day!

embracing the moment

Feelings.

We all have them. They are pretty messy things and the funny thing about them is we can feel so many different ways all at one time.

I’m not always the best at expressing mine. I tend to hide them all away inside. Sometimes though, it’s really important to get them out. It’s cathartic. Some people journal and this layout is my attempt at that. You won’t find a photo. That’s not the point.

The point is to be real, express myself and record a little piece of my history.

I admit it. I decided to just a bit reckless and splurge on this layout. I’d been hoarding a lot of beautiful product for that perfect project. I usually have a reason for using it. Not just a page for me. But I’m glad I did. This is going to hang on a magnetic board in my craft room for a while. Some daily inspiration.

Some gorgeous Pink Paislee flowers.

What you can’t see with the lighting in the original photo is my favorite part of the design. The journaling is layered over a beautiful silver rub-on by Jenni Bowlin. I’ve framed it with lovely big pearl brackets by Zva. Some of the journaling is random thoughts, & some of it, things that mean a lot to me.
So I just wanted to challenge you…

…to be real

…to record the good & the bad

…to embrace the moments

…to search for what’s important.

{hugs}

dreamer

I guess I’m a bit of a dreamer. I was always the girl with her head in the clouds and I guess in a lot of ways, I still am.

Dreams get us through every day life. They give us something to work towards. A goal. Some dreams come true and make us smile. Some dreams break our heart a little when they don’t. It all makes us stronger and makes us who we are.

The other day I was thinking of dreams and put this layout together.

First though…I have to tell you my saga. Friday was a crazy day. We woke up to no power. Spent the day huddled in the cold with no heat, no power and no water after a storm took it out. I didn’t go down to my craft room as the basement too dark to work in. One of my teenagers decided to have a nap. His room is in the basement and when he woke up, he came yelling up the stairs that the basement was flooded. My heart sank.

Because of all the rain the day before and no power going to the sump pump, my craft room flooded and then spilled into half the basement. It was a very long and distressing evening. I threw out a lot of stuff but I’m so thankful it wasn’t worse. It’s still drying out but it was so hard to see my own special place like that and my husbands hard work in  creating it  for me threatened. My craft room was one of my dreams come true. Maybe that sounds silly but it meant a lot to me.

Enter a Saturday Lily Bee deadline. The layout I had planned to create on Friday and couldn’t because of the dark had to wait until after a University tour with my daughter on Saturday. I believe in meeting my commitments. So I sat in my damp soggy craft room and managed to create this layout from my heart.

One of the things I realized this weekend is that I am living my dream.

Here.

Now.

I am blessed.

I still have a pocket full of dreams but the important ones, I cherish their fulfillment, each and every day. I love it when God gives me a little reality check. I just wish I didn’t have to learn the hard way.

So finally! Here’s my layout. It may be my favorite to date because of what it means to me. It’s also my first layout created with my new Picket Fence line for Lily Bee Design. Picket Fence is the Monday Focus on the Lily Bee blog. If you’re looking for more Picket Fence inspiration…check it out here.

I have good news! Picket Fence along with the other fabulous Lily Bee Design releases are now shipping to stores! Keep an eye out for them!

This flower is created with the Tattered Florals die and the Porch Swing and Fresh Air papers. I wanted a red brad center and didn’t have one. I found a neutral Zva brad in my stash and colored it red with a Copic Marker.

I encourage you to write down your dreams. Those that have come true and those you wish for. For the most part, I’m a pretty private person and the little pocket makes a perfect place to tuck those dreams inside.

Keep dreaming…

so fab & a blog hop

Hi! Thanks for joining me today! Are you ready for a fun blog hop?

I’m super excited to be part of a super talented team for Up the Street Scrapbooking. Up the Street has paper crafting kits each much that I look forward to using each and every time. Tara does an amazing job of putting together product that takes all the guesswork out of what goes with what. Love, love, love it!

Today I have a tutorial to share with you using bits and pieces of a past kit or two. Keep reading too as there is a giveaway today that  you’ll love. The March kit is almost here as well so stay tuned for some samples from that soon! I think it is…

So Fab

I was so excited to get artsy and have some fun with this layout. In one of the Up the Street Kits, there was this great Prima transparency. I’ve been saving it to do something special with it and it just seemed like the time to finally get to it.

Painting on the back of transparencies is a great way to add an artistic touch, as well as add color and layers of interest. Simply flip over the transparency and loosely paint the back of the transparency with acrylic paint. You don’t want it to be too precise or you’ll loose the painterly look. You can allow it to dry first if you wish but I placed mine right onto the patterned paper while wet. The acrylic paint will adhere right to the paper eliminating the need for adhesive.

Here’s what it looks like flipped back to the right side and placed onto my patterned paper. Super easy and fun.

I’ve used bits and pieces left over from quite a few Up the Street Scrapbooking kits to put together this layout. A Maya Road envelope holds the photo and the beautiful flowers are misted with Glimmer Mist. I am SO into blue and green these days. It’s seriously time for spring!

This photo is a detail shot of the painted transparency.

Finally, the title is a sticker from yet another kit that I’ve adhered to the transparency and then added in some permanent marker to highlight.

So what do you think of this Shabby Valentine kit?!

Gorgeous, huh? It’s the February Up the Street Scrapbooking kit and Tara has one to giveaway. Simply comment on my blog for a chance to win. Comment on the other blogs in hop as well for extra chances!

Next up on the blog hop is my uber-talented friend Lesley Langdon! I can’t wait to see what she’s come up with as it’s bound to be fabulous. Make sure you stop there next!

Thanks for joining me today!


Silk Ribbon Inspiration

Looking for another ribbon project? I have another to share with you today and I think you’re going to love it. It’s TOTALLY different in style for yesterday’s design. I’m hoping this one will inspire you to do a little stitching!

So what do you think?

Looks like a bit of spring to me! It’s Copic-colored silk ribbon and I’ve created a tutorial on how to do it. Check out  Silk Ribbon Meets Paper Crafting in the CLASSroom today.

Have an inspirational day!

ribbons, ribbons, ribbons

Do you have a stash of ribbon in your drawer?

I do!

The thing is…. I haven’t been using it much lately.

My policy in crafting is to “use it or lose it”. I only have so much storage space and at least twice a year, I go through my stash and decide what has to go. With so many new goodies on their way, I need some storage space. So my dilemma is I must use the ribbon or give it away. Which will it be?

I created this card to try to decide. Some of it I’ve used. Some of it is headed out the door and some of it will be put in my boys’ craft box. I have some mighty crafty little peeps here. 🙂

I loved making this card. To create it simply adhere strips of ribbon to a scrap of cardstock and then die cut it. I’ve used a Spellbinders labels die. I suggest running it through your die cut machine twice as some of that ribbon is tough to cut.

So what do you have in your craft area that you need to deal with? Remember the “use it or lose it” phrase to keep your space from getting overwhelmed.

Spring is on its way and I’m ready to get into full cleaning mode. I challenge you to do the same.

Happy sorting!

just because

I love to make cards “just because”.

I love just sitting in my craft room and putting things together. Whatever inspires me.

Just Because.

This week I’m thrilled to be featured on Jill Foster’s Inspired By blog. So cool! Each day she is featuring one of my cards and then remaking it with her own take. You’re going to love what she’s done. Check it out!

Quick Tip: Check out the packaging your products come in. Can it be reused in a design? This doily printed transparency came from a Prima package of flowers. Isn’t it pretty and worth NOT throwing out?

Supplies: kraft cardstock by Bazzill, lace flower by SEI, leaves, trim and flower by Prima Marketing, packaging by Prima, Tiny Type by Advantus, button by Jenni Bowlin, Trinket Pin by Maya Road

Thanks for stopping by!