Monthly Archives: January 2011

Pinch Me

Someone pinch me.

I think I just may be dreaming.

Actually I’m not but after much hard work and a long wait… one of my dreams has come true.

Remember my secret? This is it.
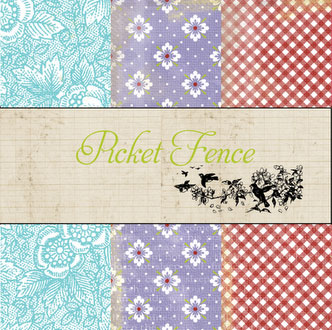
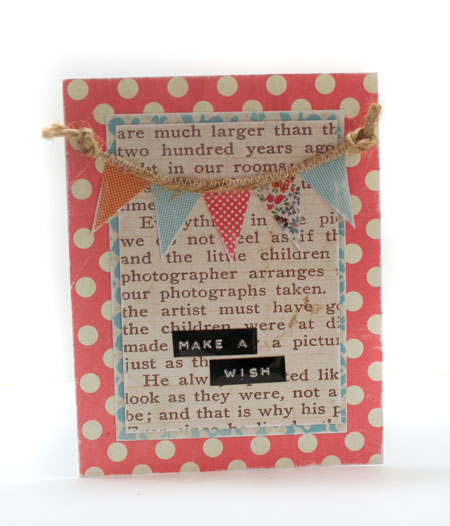
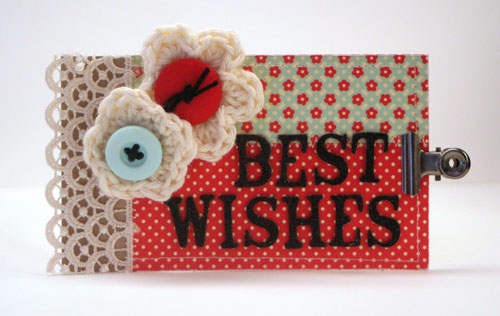
Meet Picket Fence

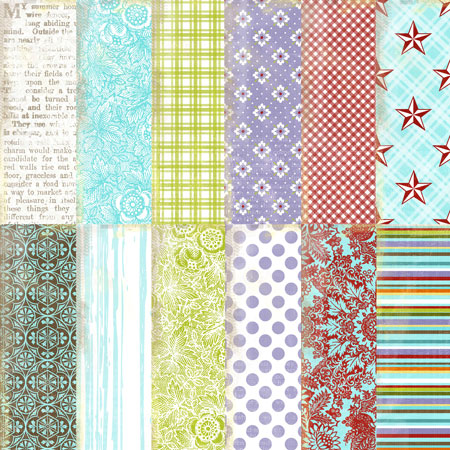
It’s my very first product line and it’s just been released at CHA.I’m so thrilled to have it as part of the Lily Bee Design new releases this winter.

Above you can see a peek at all of the papers. There are 6 double-sided papers in this line, die cuts, stickers, a 6×6 paper pad and even a stamp set! Want to see them all? Lily Bee has announced the new line here. Stop by today and leave a comment at Lily Bee for a chance to win the entire Picket Fence line!

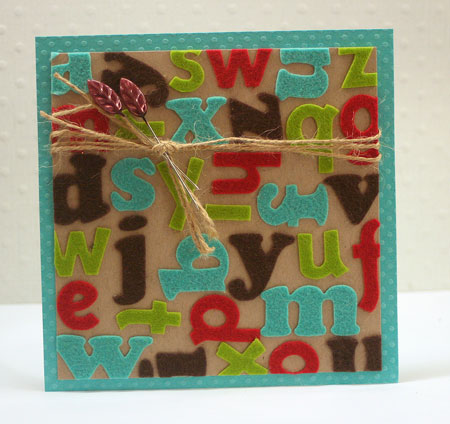
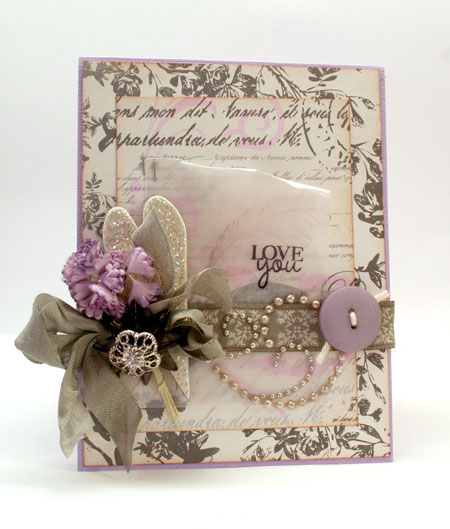
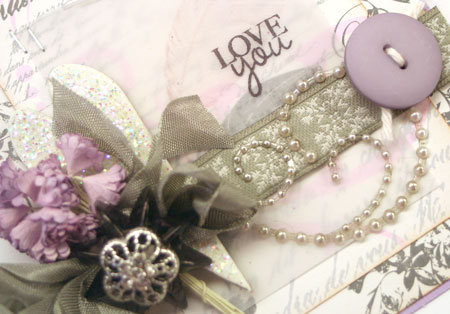
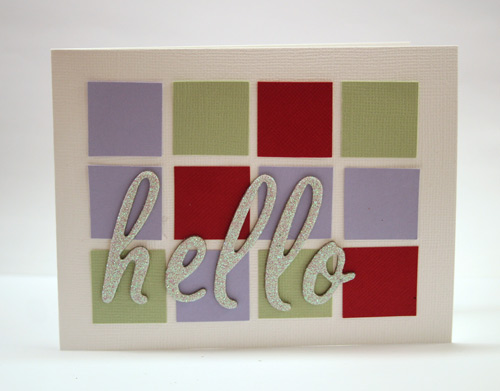
I adore scrapbooking those precious summer moments and here’s a layout I designed for the catalogue…

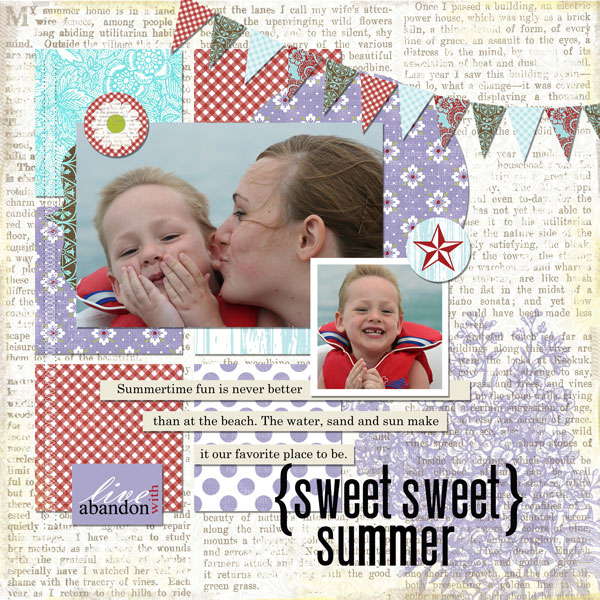
So what do you think? What can you see yourself creating with it?

Thanks for sharing  in my excitement!

Friday Felt Fun

Felt is fun, fun, fun!

I just adore felt. It’s the texture I think. I always adore texture and what is not to like about something so warm and fuzzy? It seems particularly appropriate for this very cold time of year.

So how about a couple quick felt cards today?

This first ones uses up a pile of felt Thickers. I collect them. Seriously. I had to come up with a system just to keep them organized. That’s a topic for another day.

If you use alphabet stickers, you know that inevitably there are some letters always left over. Why not make a card from them? Waste not, want not, and all that.

Supplies: cardstock by Bazzill, twine, Felt Thickers by American Crafts, Leaf Trinket Pins by Maya Road

Zva Creative makes some darling little felt flowers that I’m addicted to as well. Here they are on a sweet little chipboard fence.

Supplies: rhinestones and felt flowers by Zva Creative, Anytime Messages stamp set by Hero Arts, Picket Fence chipboard from Dear Lizzy line by American Crafts, Rosebud Memento Ink by Tsukineko, cardstock by Bazzill

Sending you warm & fuzzy heart-FELT thoughts…

Lily Bee Sneak Peeks

The Lily Bee sneak peeks are up on the web-site but I’m just so excited, I had to share them here.

Anyone else excited about the new releases?

While I don’t have the new papers in hand quite yet, here’s a quick card I created recently with a mix of some previous lines. I love the darling banner stickers. To get a distressed look, I’ve sanded the edges of the pennants.

Have a great day!

mixing crafts

Some crafters are new to crafting when they start to paper craft but for most of us, well…

We’ve been crafting one thing or other as far back as we can remember.

That’s me. Knitting, quilting, sewing, crochet, smocking, stenciling, cross-stitch,  tole painting…even making soap has made it into my repertoire at some point. I know, I know! That one didn’t last too long. I’m sure I’ve missed a few too.

It’s fun to blast back to your past skills and add different crafting techniques to paper craft projects.

Crochet flowers are a fun trend and an interesting addition to this project. I made up my own easy pattern for these flowers. If you want to make them smaller and less bulky, just use finer cotton and a smaller crochet hook.

Julia’s Crochet Flowers

  1. Chain 6 and link together to form a circle
  2. Chain 1
  3. In the circle, single crochet 10 times
  4. Chain 1
  5. In first SC, 1 single crochet, 1 double crochet, 3 triple crochet, 1 double crochet, 1 single crochet
  6. Slip crochet in next single crochet.
  7. Repeat step 5 and 6 four more times.
  8. Slip crochet through beginning and tie off.

Supplies: kraft cardstock by Bazzill, Modern Homemaker 8×8 paper pad by October Afternoon, sewing machine, lace by Prima, Hinge Clip by Advantus, buttons by Basic Grey, Thickers by American Crafts, embroidery floss by Bazzill, crochet cotton (the kind used for dish cloths), 4.00 mm crochet hook

Happy creating!

going gray

Gray just may be the new black. It’s subtle. Elegant. I’m loving it everywhere …

except my hair, of course. I’m not so fond of that.

Gray looks great with almost every color. One of my favorites is the very elegant combo of gray, cream and lavender. Do you like it?

Recently Cath Edvalson posted a Gray is the New Black challenge on Moxie Fab World. I had such a great time creating for it the first time that I just couldn’t resist playing along with the challenge. The “more the merrier” so why not play along too?

This card focus on gray starts with the beautiful patterned paper by Echo Park. It’s been sitting on my craft counter just waiting for a chance to be made into something special. Originally I was going to go for a gray and pink combo as there is a beautiful pink print on the reverse. I had this little cluster of purple flowers on my desk though that called out to me and made me change my mind. You can also find gray in this design in the ribbon, seam binding, the dark gray charm and one more addition…

Now you may have noticed that my pearl flourish is gray. It actually comes in white. Changing the color of your pearls is easy using a Copic Marker and the Copic Air Brush system. Simply air brush your pearls the color you wish and allow to dry. They are ready to use almost instantly.

Supplies: lavender cardstock by Bazzill, Be Mine patterned paper by Echo Park, vellum,  button by Basic Grey, pearl flourish by Zva Creative, Glittered Chipboard heart by Melissa Frances, flowers by Prima, Feathers stamp set and Anytime Messages stamp set by Hero Arts, Jet Black Archival Ink by Ranger, Brushed Corduroy Distress InkMilled Lavender Distress Ink by Ranger, ribbon by SEI, seam binding, Parisian Anthology Flair by Pink Paislee, W4 Warm Gray Copic Marker, Copic Airbrush System,

Have a beautiful day!


simply cardstock

There is not one blade of grass, there is no color in this world that is not intended to make us rejoice.
John Calvin

I’m on a color spree these days. I just can’t seem to put down my Color Inspiration for Cardmakers magazine. As I was in the mood for super simple cards, here’s what I came up with…

Isn’t this a fun color combination?! I always love the pop of red and lavender together.

Here’s another cardstock design. The extra colors are added in by mixing up the fonts and colors of the chipboard letters.

It’s a super crazy Saturday here so I’d better run. We’re hosting a farewell party that has grown exponentially in numbers and I have a to do list as long as my arm. Wish me luck!!!

Have a simply wonderful Saturday!

denim blues

Denim.

It’s classic.
Comfortable.

Goes with pretty much everything.

Doesn’t everyone have their favorite pair of denim jeans? I do and being the girlie girl that I am, have quite a few well-loved denim skirts too.

Unfortunately, most well-worn and well-loved items wear out. Such was the case of a pair of my son’s jeans. So I did what any thrifty mother might do…I cut them apart to be reused.

Isn’t that little Gymboree back pocket cute? Now I know that this denim pocket idea has been done before but seriously, it’s so cute that it bears revisiting. It also has me looking at worn out items in a new way. Hmmm…that torn shirt I was about to throw out…I should cut the buttons off it to reuse too.

One of the best ways to adhere fabric to a card is to stitch it. In this case I really didn’t want to do that because the pocket had such beautiful stitching lines already. So…what to do? A lot of your good liquid adhesives work well in this situation. Just apply liberally to the back of the pocket and adhere. When cutting out this pocket, I cut really close to the seams so that I could keep both layers of the pocket intact. Yes, there is a layer of denim behind the pocket that you see. To secure it that little bit more, I used my favorite Tiny Attacher tool to staple a few places.

Supplies: denim pocket, black cardstock by bazzill, Modern Homemaker 8×8 paper pad by October Afternoon, Tiny Attacher, Canvas flowers by Jillibean Soup, Kraft Ticket, Wood Bingo Motif, Heart Trinket Pins and Leaf Trinket Pins by Maya Road, twine, letter stickers by October Afternoon

What can you find to recycle? Have fun!