Now if you know me… you’ll definitely be wondering at the strange title for today’s post as I don’t drink. Today I’m challenging you to pull out your alcohol…no…not the drinking kind, the CRAFTING kind and play along with today’s challenge. At first you might not think there are so many alcohol based products in the crafting market but once I got thinking about it…truly there are! Copic and Prismacolor markers as well as the blending solution are alcohol based. There are lots of stamping techniques using rubbing alcohol such as polished stone. How about alcohol inks. I really needed a push to get these babies out of my stash and so my design features them today. Nothing like a challenge to push you out of your comfort zone! To play along with today’s challenge, check it out here.
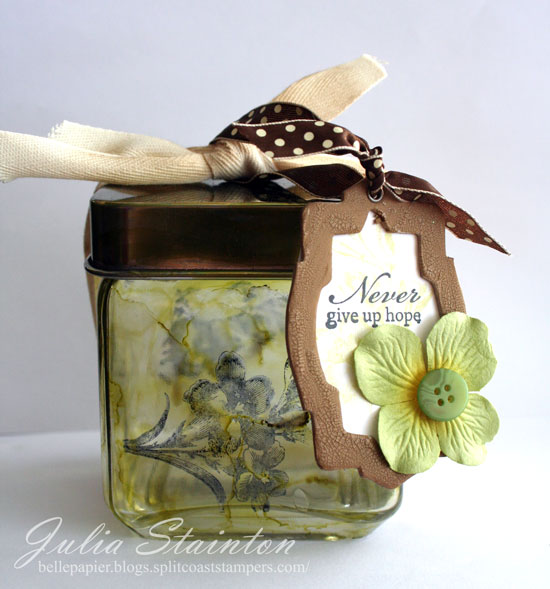
Vintage Gift Jar

This project is actually a very inexpensive gift. I picked up the jar at the dollar store and have had a few in my stash for a while. They actually come in a few sizes and some of the larger ones hold pieces of ribbon etc. on my desk. I didn’t try anything too exciting with the inks as I’ve only played with them once before. Yikes!, now that I think of i, it was a project for my last month on the Dirty Dozen DT two years ago! Where DOES the time go?!
To get started with alcohol inks, you need a few items. First…a package of the inks, a bottle of blending solution and lastly a felt applicator tool. Trust me…I couldn’t find mine this morning and just used the felt replacement pads and I am a MESS! You’ll also want a craft mat or something to protect your work surface. It’s best if your surface is clean and dry. Glass, plastic, glossy cardstock and metal are all great surfaces for alcohol inks. To apply the ink, you can simply add a few drops of ink to your felt pad and wipe it onto the surface. This gives you a very smooth look. Alcohol inks are known for their great mixing qualities and mottled look. To get this effect, dap on a small amount of another color of alcohol ink. I used Lettuce and a small amount of Eggplant on this project. To blend the inks together, soak a fresh felt pad and apply it over the surface. You’ll love watching it create the fun look.
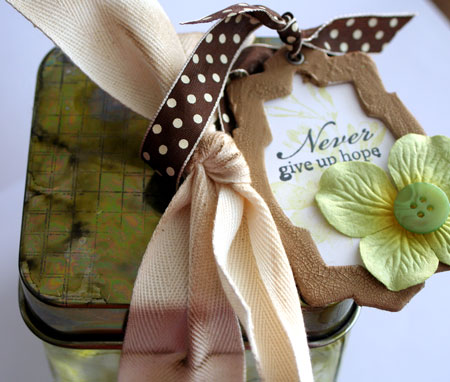
The Alcohol Inks dry very quickly but be sure they are well dried before stamping over them. You can stamp over the inked surface with Stazon ink. I used the Freesia Stamp from Cornish Heritage Farms to stamp the sides of my design. On the metal top, I stamped the Distressed Grid Scrapblock™ in Black Stazon as well.

My tag is actually a Maya Road chipboard frame that I painted with Distress Crackle Paint. Can you tell I LOVE this stuff?! After stamping my sentiment onto some white cardstock, I layered it behind the chipboard before embellishing.
Quick Tip: Look for fun ways to add tags to your projects. Manilla Tags, chipboard, die-cuts, pieces of acetate all make fun tag bases.
Have fun and please STAMP responsibly! 😉

Supply List:
Stamps:
Freesia by Cornish Heritage Farms
Distressed Grid Scrapblock™ by Cornish Heritage Farms
sentiment from Scene-it Collection by Cornish Heritage Farms
Ink: Black Stazon Ink & Black Memento by Tsukineko, Lettuce and Eggplant Adirondack Alcohol Inks by Ranger
Paper: Simply Smooth White by Prism
Other:
Brushed Corduroy Distress Crackle Paint by Ranger
chipboard by Maya Road
twill tape
ribbon by Creative Impressions
button
