
Happy Thursday! Today we have another fun ways to use it challenge for you. Think inch by inch. With the popularity of Inchies…today’s challenge is to focus on inch-size squares. Either use the Inchies or make your own or use one inch size fragments or glass pieces. If it is sized an inch…use it! My good friend Lindsey is posting the challenge for me today. It’s one of those life happens days…too many appointments etc. all in one morning! Check out the challenge here!
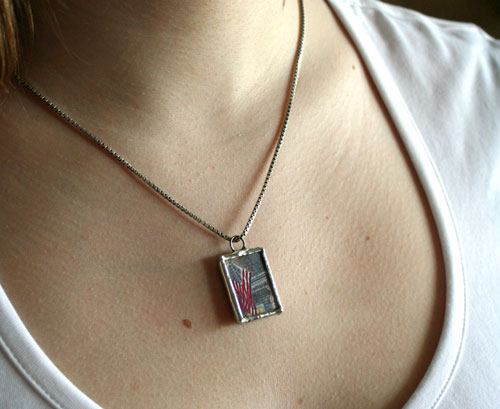
I’ve created two designs for this challenge. Now I have to tell you… I did cheat a little on the first. I had this idea I just had to try out using my new Hometown Pride Thomas Kinkade image and my new soldering kit. Do you think I could find my 1 inch square glass tiles?! Unfortunately not so this pendant is not the perfect one inch square. It is actually sized one inch by 3/4 of an inch. Hope you’ll forgive me. 😉
Hometown Pride Flag Pendant
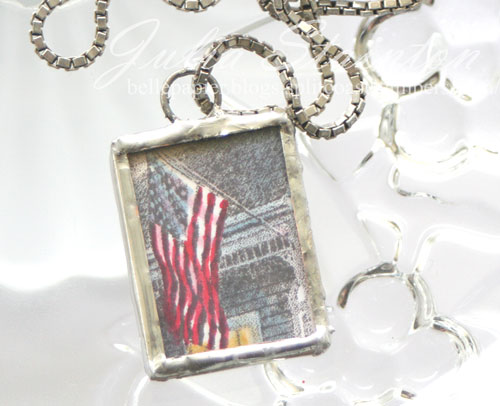
While I’m not American, I thought this would be a really fun project. Although I didn’t incorporate this idea…here’s one that I thought of while creating this…. A friend of mine’s husband is serving in Iraq which got me thinking….wouldn’t this make a great gift with the flag on one side and his photo on the other?
This design is my first attempt at soldering. It was a little tricky and I definitely need to practice but I’m loving the results. If you try it out…DO be careful. I ended up with two rather burnt fingers in the process. 🙁 Ouch! I found that adding on the jump ring at the top was the most difficult part. My 17yo just happened to come home at the right time and gave me a helping hand. Thanks James!
 To create this design, I simply stamped out my Thomas Kinkade Hometown Pride image (to be released tomorrow) from Cornish Heritage Farms onto some white cardstock. I colored in a section of the image that I wanted to use with my Copic Markers. The soldering kit is by Simply Swank and includes all you really need to get started. I think you’re going to see lots more soldered projects here and this just may be addicting. 😉 If you’re looking for a great tutorial…Ellen Hutson’s really helped me out tremendously!
Petite Bébé

My second project is one I just couldn’t resist making after purchasing some new Making Memories paper & goodies a couple weeks ago. I noticed that they would work perfectly with a Kim Hughes stamp set that she designed months ago and will finally be released at the beginning of June. It’s called Baby Love and oh baby…I’m in love with it! 😉 Some of the little sentiments and a baby onesie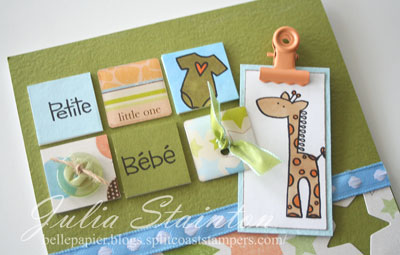 were perfect for stamping on my inchies. For one of the squares, I simply covered it with patterned paper and adhered a button. Now what I thought was really fun…the epoxy buttons are a perfect one inch square too! I created a fun little grid with them and then clipped on my darling little giraffe. Now I’m all ready for a baby boy arrival. Hmmmm….wonder whether my friend Naomi is having a boy or a girl?
Have a fabulous day!
Julia
Supply List:
Stamps:
Baby Love (Kim Hughes LIne) by Cornish Heritage Farms
Ink: Pitch Black Adirondack INk by Ranger
Cardstock:
-Spring Willow Dark by Prism
-Baby Blue Medium by Prism
-white cardstock by Prism
Patterned Paper:
Making Memories
Accessories:
-Copic Markers
-Inchies
-clip, ribbon and epoxy embellishments by Making Memories