Today’s Limited Supply Challenge on Splitcoastampers.com was a little tricky for me. Why? You had to make a flat Christmas card! If you’ve been reading this blog for any length of time, you know how much I LOVE my embellishments! I know some other have put things like brads on their design but I tried my best to stick “to the letter of the law” LOL on this design. Flat ribbon, flat stitching and limited layers. And so…while this design is not bad…I’m totally missing adding on my little goodies! 🙂 The reason behind hte challenge was keeping mailing costs down during the holidays…those embellishment laden cards CAN be expensive to mail.
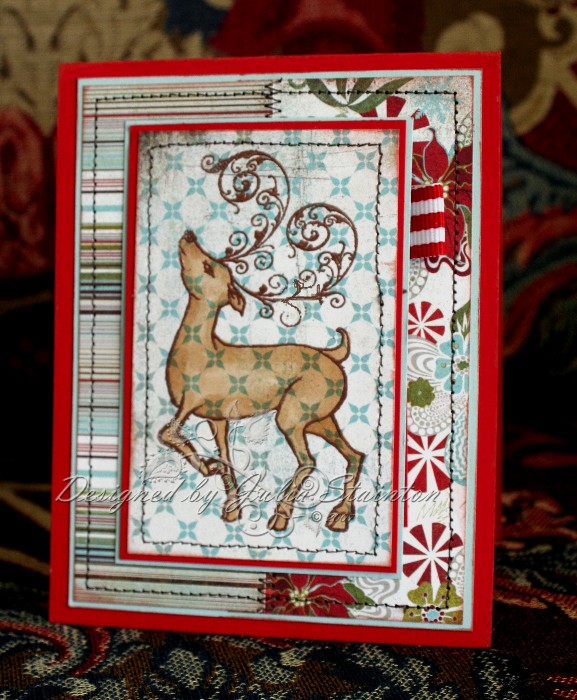
Copper Reindeer
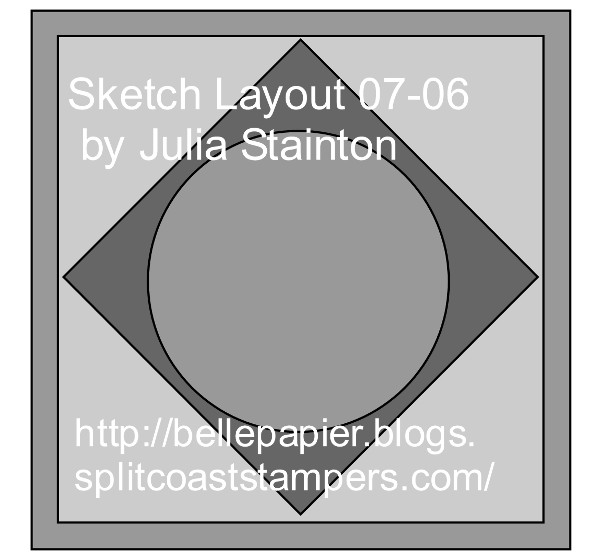
I love this stamp set from Flourishes and just in case you missed my post earlier in the week…Flourished Christmas is now back in stock! This reindeer is so easy to use and so festive and elegant…all at the same time. I just can’t bear to put him away! As I have very limited time this morning…I decided to pair up this quick challenge with this weeks SCS sketch challenge turned 90° to fit my reindeer stamp.
The mailperson brought me this gorgeous 6×6 Figgy Pudding patterned paper by Basic Grey yesterday and I couldn’t resist breaking it open to play. Wow! It is stunning and so many great patterns all in one inexpensive pad. I simply must order more as I can’t stand the thought of running out! LOL The two patterned papers were layered onto Soft Sky cardstock and then my Real Red card base before adding stitching details to the design.
Quick Tip: You can’t see it in the photo well. but I pulled out my Cosmic Copper Brilliance ink pad and inked all the edges of each layer with it. It adds a slightly distressed look but also the shimmer makes the design a little more special for the holidays.
For my main image layer… I stamped and embossed my reindeer with Copper embossing powder by Stampin UP. They actually discontinued it with the new catalogue…not sure why as it is gorgeous. I’m now seriously on the lookout for another great Copper embossing powder. I’d love a regular one and I’m not sure if any such thing exists but wouldn’t a Copper glitter embossing powder be stunning?! If you have a good source for either…I’d LOVE to hear from you!
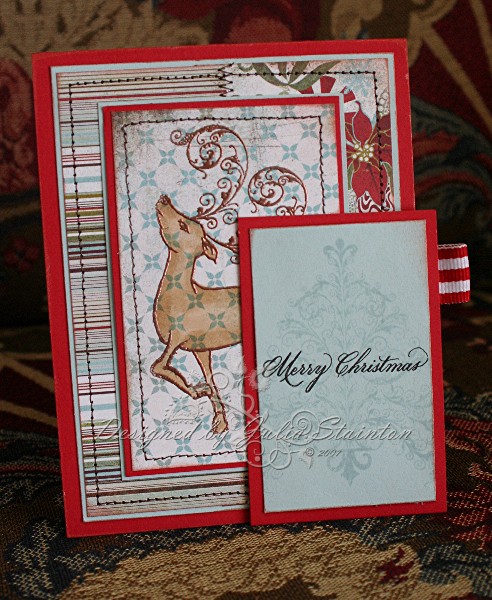 After embossing the reindeer… it was quick to color him in with my Copic marker. To add a slight bit of shading, I just went over the areas I wanted a little darker with the same marker again. After stitching the design, I found I didn’t have any room left for a sentiment without covering up some of the design. Hmmmm…what to do? I came up with the idea to hide the sentiment UNDER the image panel on a little pull out tag. The tag was made smaller than the image layer so that I could adhere three sides of the image layer and still slip the tag underneath. Hope you like this fun variation! If you’d like to play along with this challenge…check out LSC 140 Holiday Mail. 🙂
And just to enable you a little…Jacksonbelle is having a weekend sale with tons of items 20% off. 🙂
Have a fabulous day!