Last year I while I was shoppping I came across the We R Memory Keepers Designer Snaps and Eyelets and their Extra-Large eyelets. As I had just purchased a Crop-a-dile, I just couldn’t wait to bring them home and try them out. I was soon addicted to these unique embellishments. I’m always on the lookout for something a little different and these eyelets and snaps fit the bill. I loved them so much, I even purchased extras for Christmas gifts for some of my stamping frineds.
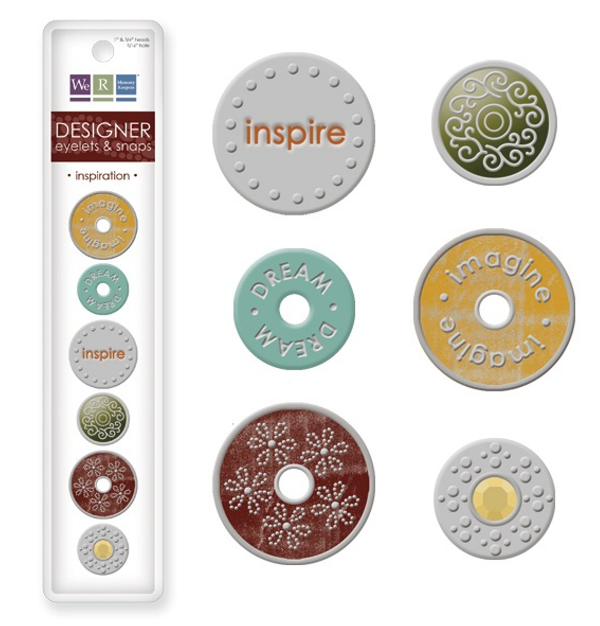
Designer Eyelets and Snaps
The We R Memory Keepers Designer and Extra Large Eyelets work perfectly with their Crop-a-dile. Easy to use and set, these embellishments are perfect for that special card. They hold their own well on an intricate design but I also love using them on simple designs as they add a simple elegance. What makes these eyelets and snaps so special? The Designer Eyelets and Snaps come in packages of 6 unique pieces. Some eyelets, some snaps…these are a great ensemble of beautiful embellishments. Each package has a mixture of pressed metal eyelets and snaps with additions of color, designs, an epoxy finish or a set rhinestone. I’ve become so enthralled with them that I just had to purchase one of each of their 9 sets and also bought extras to give to a few of my friends last year for Christmas.
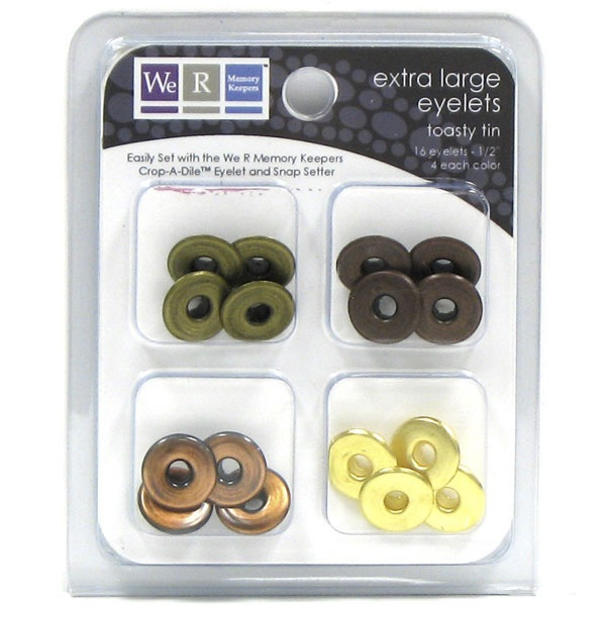
Extra Large or Jumbo Eyelets
The Extra Large eyelets have also become high on my favorites list. I love the large look and how these eyelets come in many different color combinations and finishes. While small eyelets need a grouping to be noticed in a design, one or two of these giant sized eyelets stand perfectly well on their own. My favorite set is the Toasty Tin. Recently, Stampin Up has started carrying this product and is marketed in large packages of 60 in two separate finishes, pewter and antique brass. I love this option as I particularily love using the pewter Jumbo eyelets.
All of these eyelets are fabulous for stringing ribbon through because of the size of their center opening. My favorite ways of using these eyelets and snaps is for tying ribbon, attaching tags and as a flower center. The size of these Eyelets and Snaps are also fabulous for setting in coasters and chipboard where smaller eyelets may fall out because of the depth.
How to Use:
The Designer Eyelets and Snap are very easy to use with the Crop-a-dile. Suggested settings are printed on the back of the package. If you have a Crop-a-dile but rarely use it or if you are thinking of purchasing one, I wrote an entry a few months ago that you may want to take a peek at…. Crop-a-dile {C’est Bon}. If you have any questions, comments etc. about these products, feel free to leave them on this post. I’ll be happy to answer them by editing into this post.
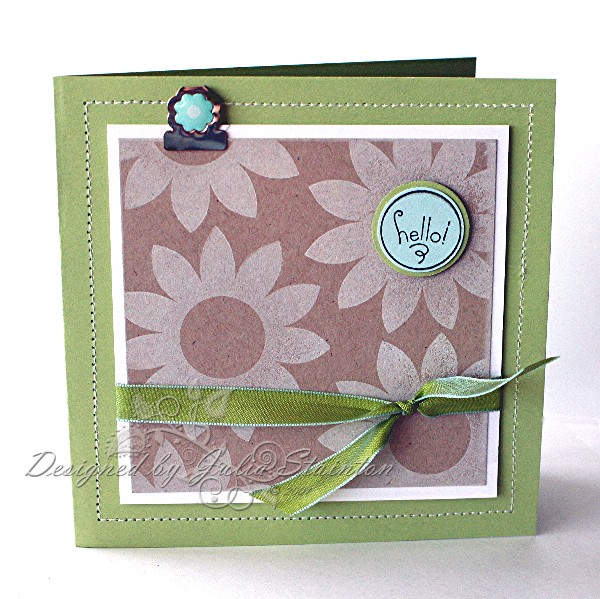
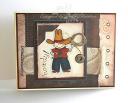
Genuine Friend

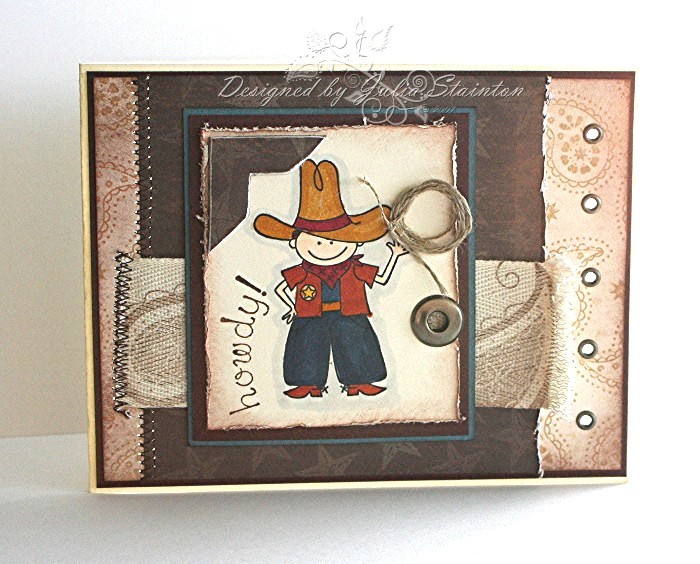
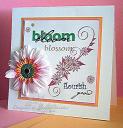
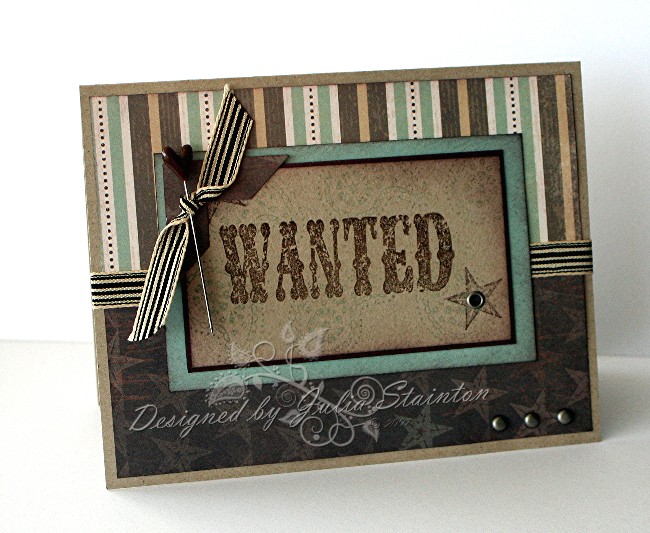
This design is based on last weeks CPS sketch. I’ve been wanting to try it out all week and finally got a chance. I decided to go for a distressed, shabby look and have a little fun with the warm colors. The Genuine Designer Snap worked perfectly with the layout and the style of this Stampin Up Designer paper. A little distressing and a little stitching made a simple design so much fun.
Supply List:
Cardstock: Sage Shadow, Chocolate Chip, Groovy Guava – Stampin Up
Patterned Paper: Outlaw – Stampin Up
Stamps: FAbulous Flowers, Wanted, Carte Postale
Ink: Chocolate Chip, Groovy Guava, Black – Stampin Up
Other: screw brad – Creative Impressions, Designer Snap & Crop-a-dile – We R Memory Keepers, sewing machine, stapler,
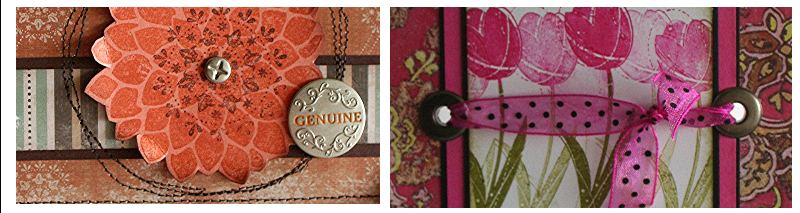
Best Friends
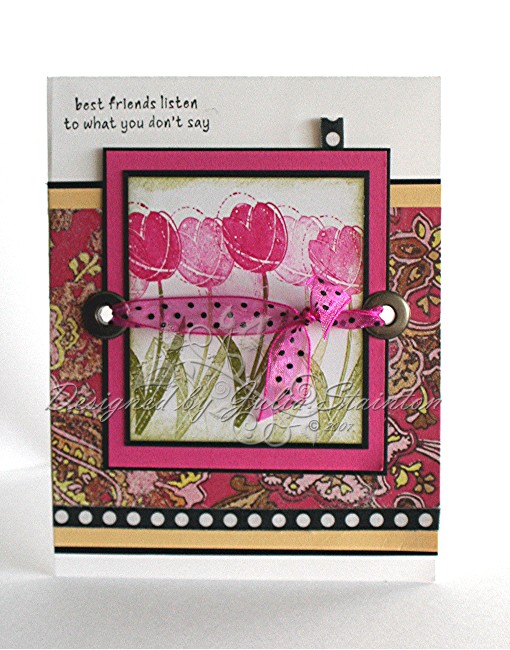
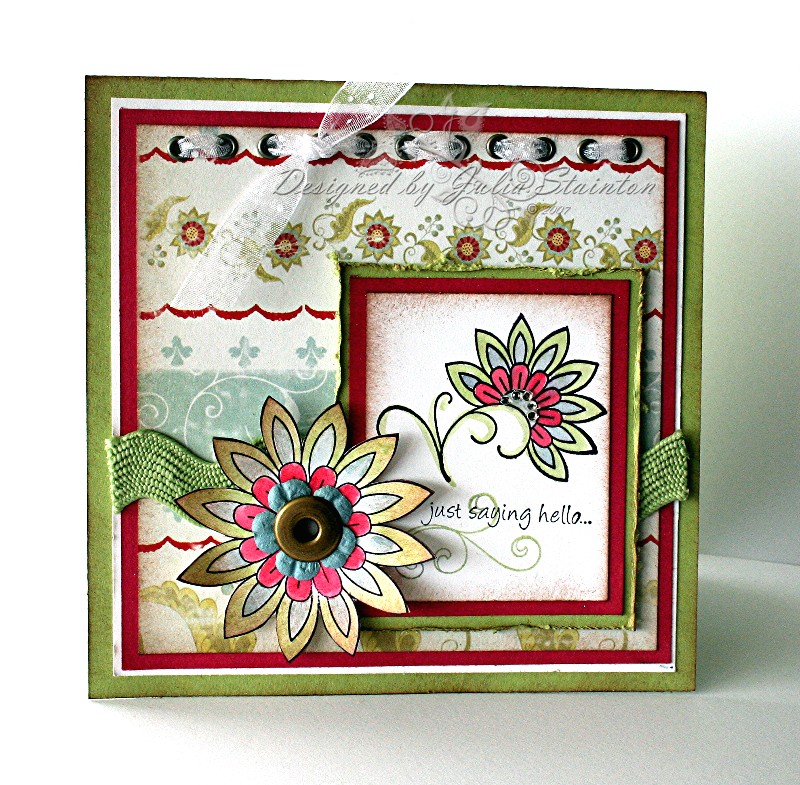
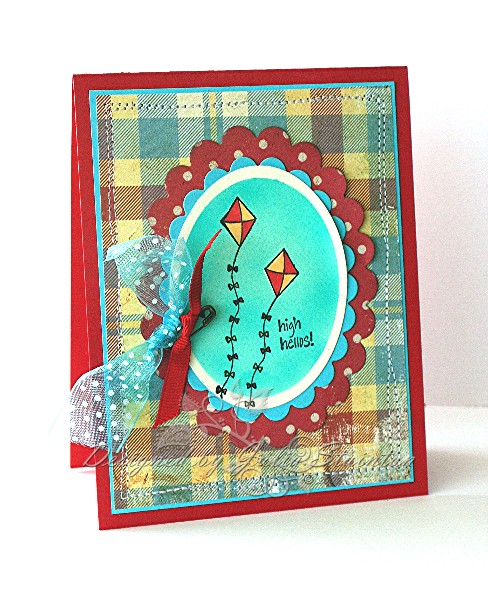
This design has a little different style. I thought I’d create a fun fresh card with colors from the gorgeous My Mind’s Eye patterned paper. After stamping my images adhering my layers, it was easy to punch through it all with my Crop-a-dile and add my pewter Jumbo eyelets. A little piece of May Arts ribbon tied through them makes a fun quick embellishment. Also on this design, I used some of my favorite Making Memories textured tape to add those little white on black dots along the bottom and also created a little tab at the top.
Supply List:
Cardstock: Pink Passion, Whisper White, Black, Barely Banana – Stampin Up
Patterned Paper: My Mind’s Eye
Stamps: Garden Whimsy – Stampin Up
Ink: Pink Passion, Old Olive, Black – Stampin Up
Other: Jumbo Eyelets – Stampin Up, ribbon – May Arts, Black and White Textured Tape – Making Memories
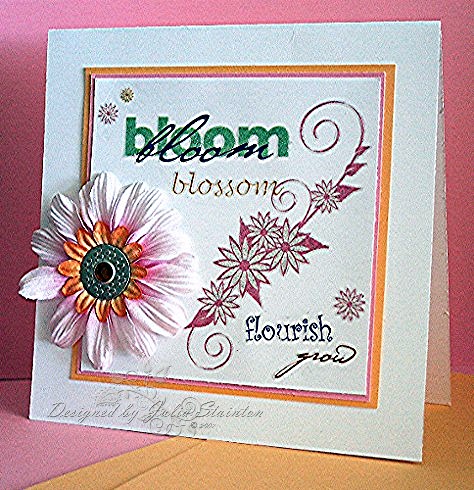
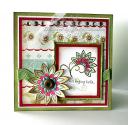
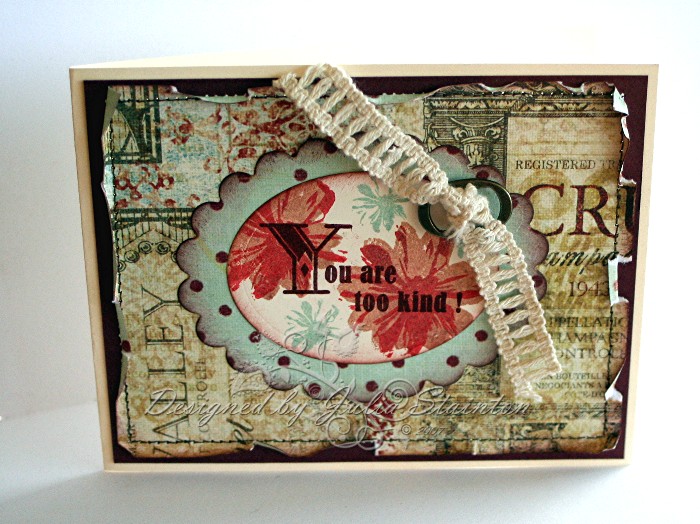
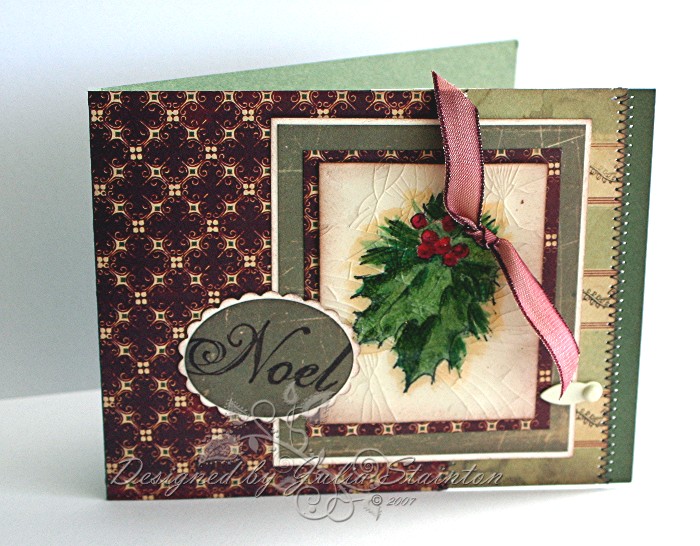
A few extra samples…
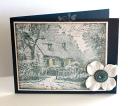

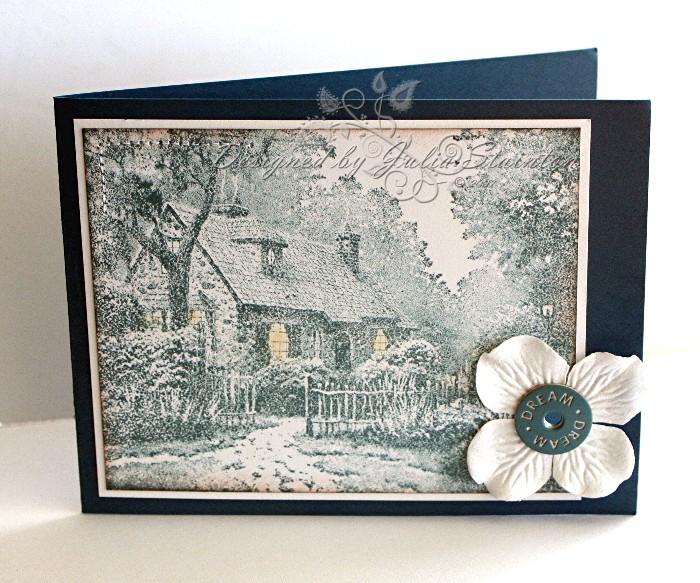
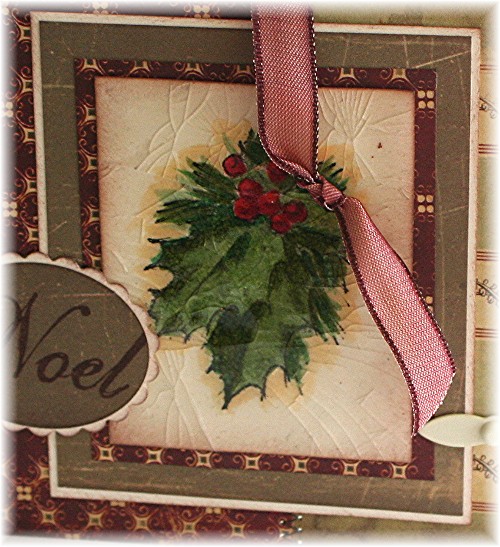 one handy…it just takes a little longer to cool and I find that the colder it is, the better cracking you will get on your image. I’ve always loved the look of Cracked Glass…I guess I just love a vintage look. LOL DH though…he just doesn’t get it! 🙂 One thing to note about Cracked Glass…the embossing on top will change up the coloring underneath a little, especially with dye inks and markers.