Time for another Ways to Use it Challenge! This week we are going to do another blast from the past challenge and redo a challenge from Feb 2, 2006! Now this one may push you out of your comfort zone a little. No cards this time….today we are altering journals or notebooks. This may be a perfect challenge for you for designing notebooks for back to school. If not, a covered journal is always a lovely gift. Work ahead! Before you know it, it will be Christmas! LOL We’d love to have you play along! Everyone is welcome and the challenge doesn’t have to be done today. If you have time tomorrow or later in the week, that is fine too! Check it out at WT125!
Friend Gift Journal

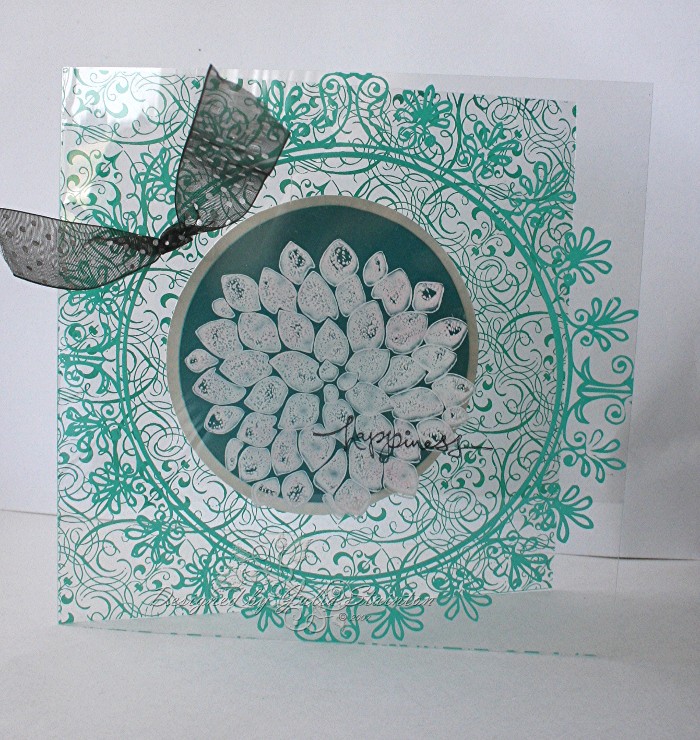
(click on thumbnail for larger view)
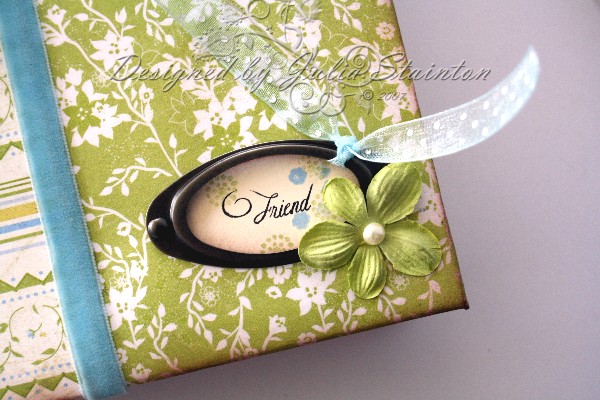
For this design, I started off with some of my Basic Grey Lily Kate patterned paper. Love the fresh look of the blue and green together, so soft and pretty! A little relief from all the heat outside! My journal is one from Michael’s that I altered. They always seem to have a great selection of things to alter there. This journal was only $1.50 and I’m sure only $1 if you are in the US. Hard to believe the dollars are so close in value right now with the price differences…isn’t it! 😉
I carefully removed the covers of the journal. To make it easy to cover the journal, I first stitched the patterned paper together so that it woudl be like working with one sheet. Gluing the surface of the journal well, I wrapped it with the patterned paper and then adhered the inside edges with sticking strip for a good grip. Nothing worse than putting a lot of work into something and then it coming apart! I then pierced holes in the paper for the binding and sponged the edges before putting it back together.
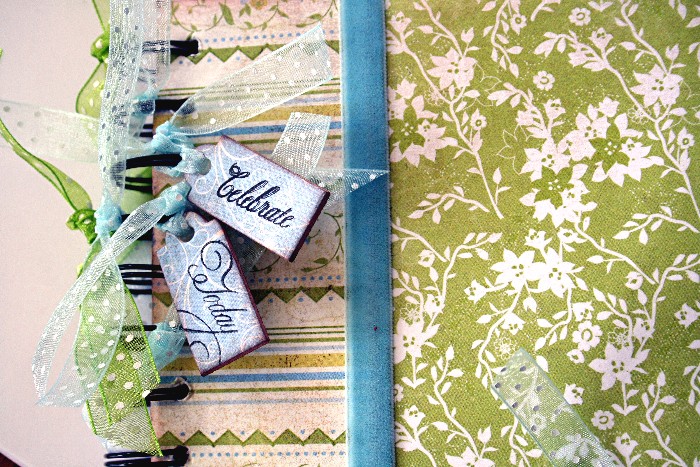
To cover the stitching seam….it looked nice but this time I really wanted to use velvet ribbon….I adhered my ribbon over the top and secured the edges underneath. For the front sentiment, I punched out an oval and then stamped Friend from my Flourished Words stamp set. With my Cake Decorating 101 set, also by Flourishes, I stamped the tiny flowers around the sentiment. Before adhering the Holdgepodge Hardware, I tied it with a ribbon. Now attaching the hardware did pose a problem. How to hold it on????! Glue dots to the rescue again! I inserted the brads and glue dotted them so they wouldn’t twist around and then applied lots of tiny glue dots around the hardware and it works great! A pretty little Prima flower and a tiny Pearl finish it off.
Quick Tip: Adhere patterned paper to a coaster before die cutting it. The die will cut both layers at once and give you a great smooth finish.
Just about done, I spied two more little words from the Flourished Words set that worked perfectly for this project…. Celebrate & Today! What a great thing to remember daily and to add to a journal. I adhered some more Lily Kate paper to a coaster and then die cut little tags with my Cuttlebug. I then stamped my tags with Celebrate and Today and tied them to my wire spine with dotted ribbon. Lily Kate patterned paper and velvet and dotted May Arts ribbon are available from Jacksonbelle Embellishments and Flourishes.
Other Noteworthy News….
Michele Boyer (Shel9999) is having a fabulous givewaway on her Paper Cuts blog! Let’s Hear it for the Boys… a fabulous card design you don’t want to miss and a super cool matching giveaway. Leave it to Michele to come up with something so fabulous!!! Make sure you check it out!
Supply List:
Cardstock: Very Vanilla – SU
Patterned Paper: Lily Kate – Basic Grey
Stamps: Cake Decorating 101 & Flourished Words – Flourishes
Ink: Palette Noir – Stewart Superior, Close to Cocoa, Bashful Blue, Certainly Celery – SU
Other: Jouranl – Michael’s, ribbon – May Arts, Hodgepodge Hardware, oval punch – SU, Cuttlebug and die – Provocraft, coaster, flower – Prima Marketing, Pearl sticker