Archive for July 18th, 2007

Jul 18 2007

Flourishes…& a few other things of note…

Published by Julia Stainton under Card Designs

jks-flourishes-logo-smaller.jpg

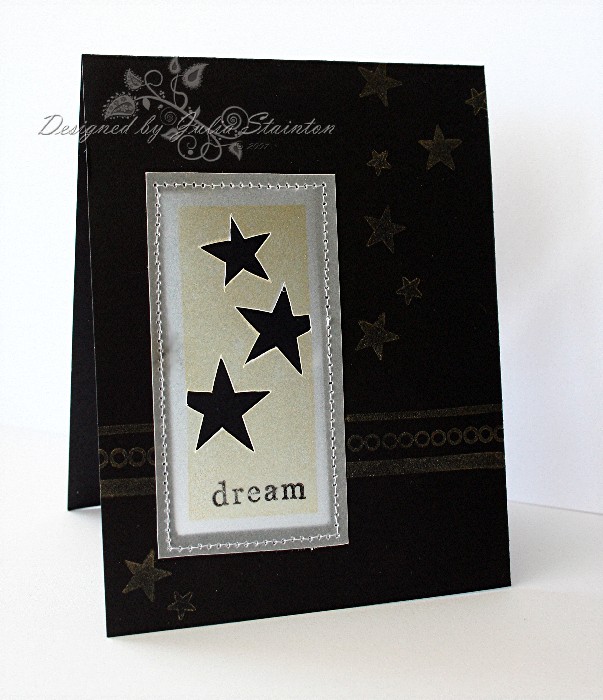
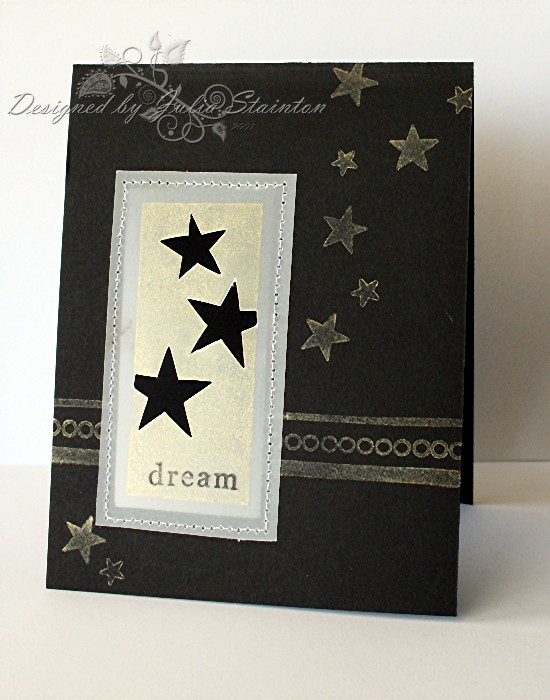
Flourishes…you know I love them…just check out my banner at the top of my blog! :) Lots of flourishes there. Well, when I heard there was a design team call for Flourishes LLC , a new online company…I just had to check it out! I checked out their web-site….so beautiful! I couldn’t wait to apply and Yay! I’m so happy to announce that I was chosen to be part of their team and new venture! Thanks so much Nancy, Jan Marie & Sharon for the wonderful opportunity! I can’t wait to get designing with your new stamp line! Congrats also to the very talented members of the design team….I’m excited to be part of a great team. If you’d like to check out the rest of the design team, please visit the new Flourishes Newsletter. :) The newsletter will be published monthly and you can sign up for updates, right on the site. Also on the newsletter…details on the new on-line store, opening date July 27th! and upcoming promotions. If you’d like a sneak peek at the upcoming stamp set releases, be sure to check out Jan Caruso’s Blog, The Caruso Manner.

  • You also may want to check out Jacksonbelle Embellishments over the next few days! Lindsey has half the store on sale as she heads off to CHA! Have fun Linz!
  • Check out Craft Critique for the Celebrations Contest Finalists! You can vote on site for your fave…it is worth the peek to check out the great ideas!

19 responses so far

Jul 18 2007

You’re a Star!

Published by Julia Stainton under Card Designs

OK….I’m almost done with this Text Boxed stamp set….for a while anyways! ;) I KNOW I’m going to pull this one out a lot in the future as well. I wanted to give the star image in this set a whirl. When I think of stars, I think of wishing and dreaming and so I thought this would make a neat graduation design. I had to show you two different photos. One to get the shine of the ink and the other to get the idea of the see-through vellum window. Now that I think of it, this design could be altered for anyone. After all….a girl’s got to have dreams, right?!

Starry Dream

jks-starry-dream-2.jpg

To create this card, I started off with a top hinged 4.25 x 5.5″ black card base. I first stamped the faux ribbons across the design in Gold Brilliance ink. To plan the window, I then stamped my box onto the black cardstock. After stamping, I took my Perfect Layers tool and lined up the1/4″ mark with the edge of the stamping. I carefully cut a 1/4″ larger window out in this manner. ( I then discarded the black cut-out stamped box)

Quick Tip: Brilliance Inks by Tsukineko work great and dry quickly on vellum and cardstock.

On a generous piece of cardstock vellum, I then stamped the reverse star image again. I carefully trimmed a 1/2″ border around the image with my perfect layers tool. Using my xacto knife again, I cut out the stars for a peek-a-boo inside effect. The sentiment was then stamped onto the panel as well so that it would show up as part of the main detail.

To put it all together, I lined up my vellum over my window making sure all the borders were equal. I then stitched the vellum panel on top with my sewing machine. To finish it off, I stamped a trail of stars onto the black card. I had so much fun designing this card. I love the way the vellum window lights up when it is displayed. It is always great when you try something a little out of the box and it works! :)

jks-starry-dream.jpg

Supply List:

Cardstock: Basic Black, Vellum - Stampin Up

Stamps: Text Boxed, Faux Ribbon - Papertrey Ink

Ink: Gold Brilliance, Black Stazon - Tsukineko

Other: Sewing machine, x-acto knife, Perfect Layers

6 responses so far