The Slit Punch Scallops technique turned one year old (LOL) two weeks ago today. 😉 I thought I’d “celebrate” with a short tutorial but it just didn’t happen at the time because I was wanting to spend that time with my mom. MUCH more important, I’m sure you will agree! I decided to go ahead and do it now, even though I’m a little late. The Slit Punch Scallops have become widely popular over the past year. I always love adding them in. You may be wondering why I know the history of the slit punch scallops…well, I was there! 😉
It All Started…
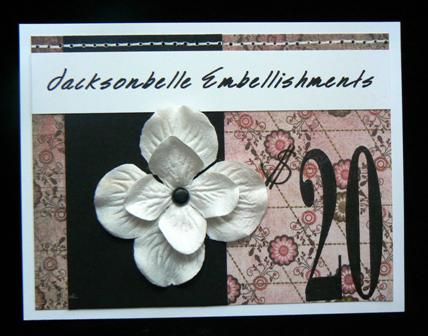
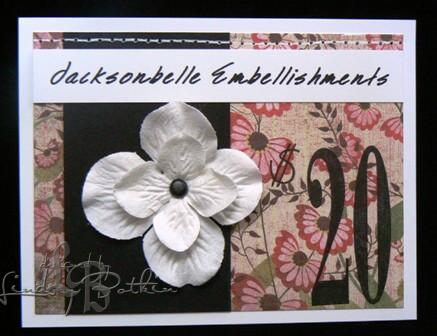
It all started last June (2006). I was so excited to be asked to be part of the Splitcoaststampers Fan Club Design Team. OK….that might be an understatement! LOL I was really hard at work coming up with new ideas and stretching my skillz. The first month is always a little nerve-racking I must say! I had finished all my designs and was working on a few extra ideas I had. My last card I actually finished the inside first as it had acute little inside feature and I was just trying to come up with something for the front. Hmmmmmmm….. Nothing was happening. I wasn’t going to give up though as I loved that inside. Rummaging through my drawer for inspiration, I found my slit punch and pulled it out. It had been neglected in my drawer for a while so I decided to see what I could do with it. I was thinking I could repeat the slits at intervals along the edge when it just occured to me that I could keep punching. So easy! Eureka! I was bouncing. Then I thought….wait! Julie Ebersole (the Splitcoaststampers.com Design Team leader and stamper extrordinaire) uses a lot of scallops. She MUST have done this before. I quickly scanned her gallery and didn’t seen any but you know, Julie has a HUGE gallery. I e-mailed her and asked. I was very excited to get the quick reply….Nope, it’s all yours girl! Yay! And so I’ve used Slit Punch Scallops on my card design and many others these past 12 months as have many other stampers. I’ve also seen some great variations such as slit punch scallops around a circle. How cool is that? Thanks Geny for helping me remember where I saw it. How could I forget?! Sarah Moore came up with it and you can check it out at Sarah & the Stampstars. If you have a SCS Fan Club membership and want to check out my original design, you can see it here… Friendship Files & Friendship Files Open
Slit Punch Scallops Tutorial
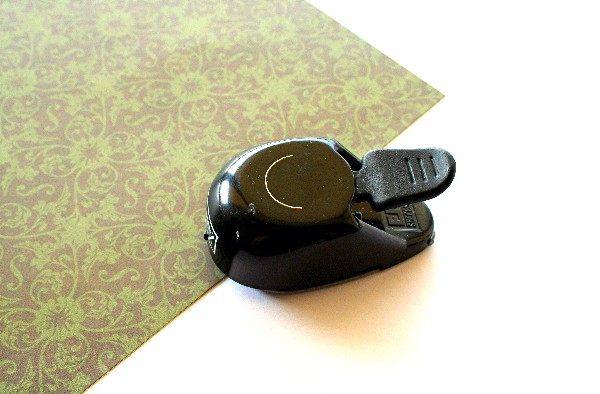
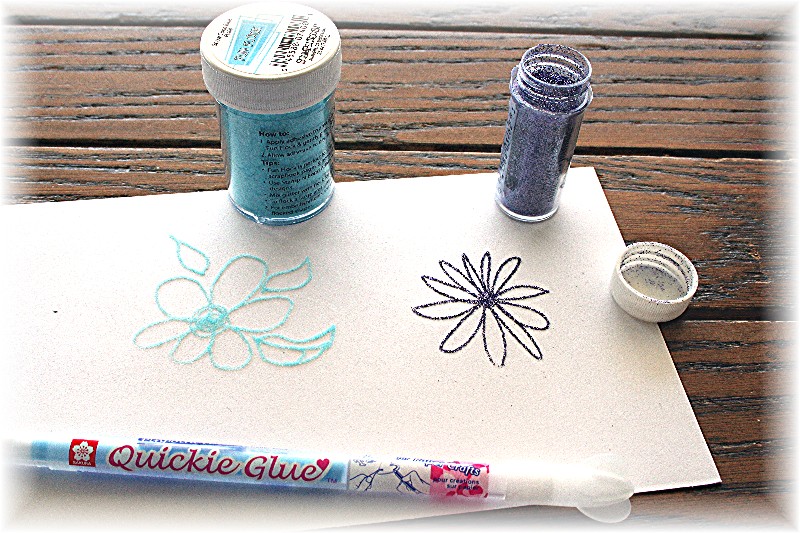
1. Gather supplies – simply some cardstock or patterned paper & your Stampin Up Slit Punch
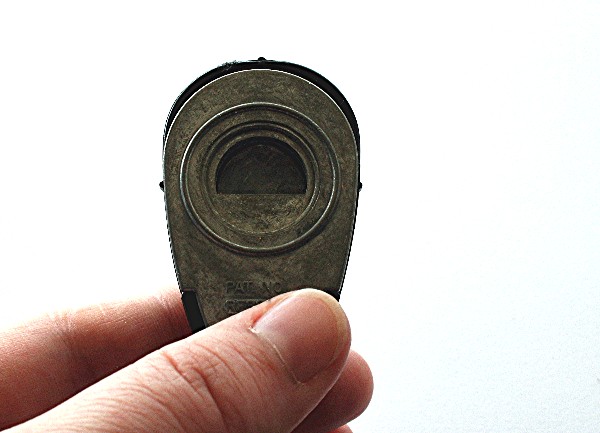
2. Turn slit punch upside down so that you can see where to line up your punches.
3. Slide cardstock into punch up to the hilt to get even punching. Punch a scallop.
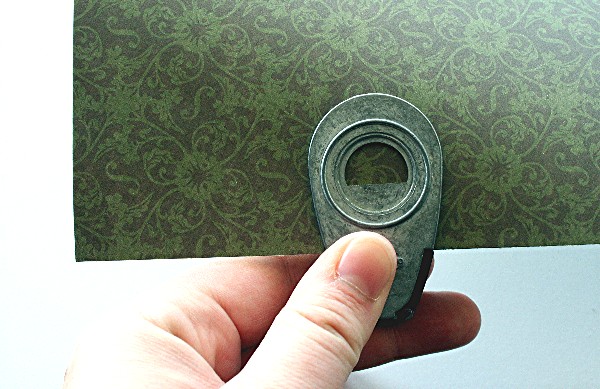
4. Slide punch along until left side of punch “window” lines up with right side of last punch. Press down and punch scallop.

5. Repeat until you have complete scalloped strip.

Ideas for Slit Punch Scallops
- punch cardstock
- punch patterned paper
- punch small holes into the scallops
- set eyelets in the scallops
- Stampin Up’s Alphadots set fits perfectly into the scallops
- make an awning with the scallops
- use the negative shape of the scallops to make waves
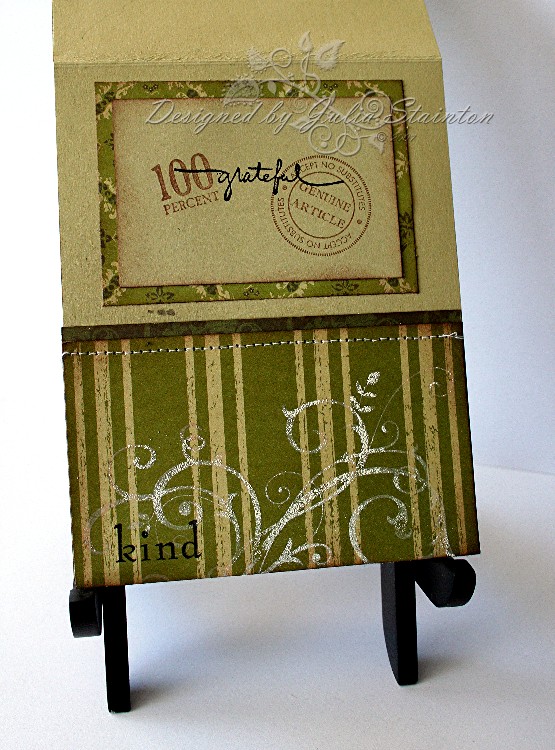
Kind Friend Gift Card Design

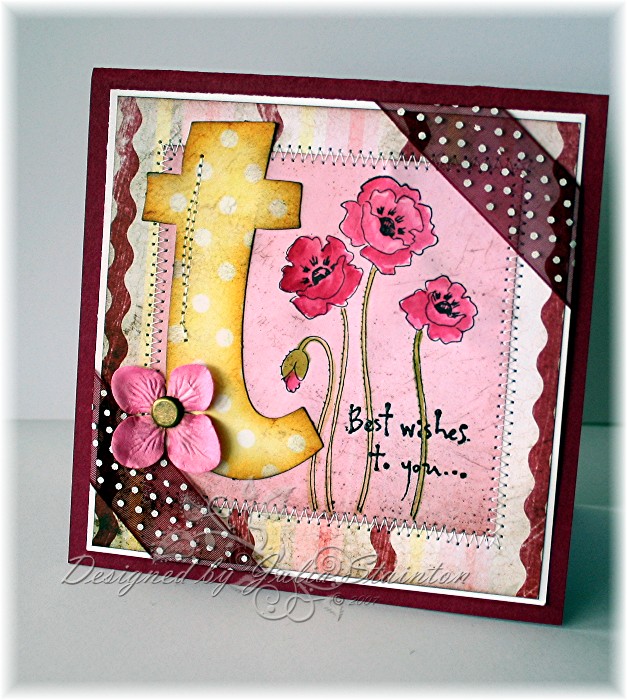
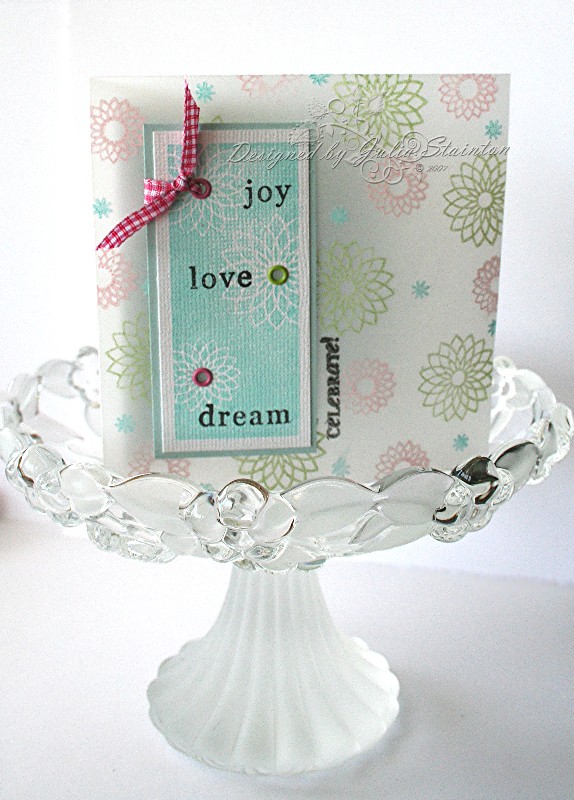
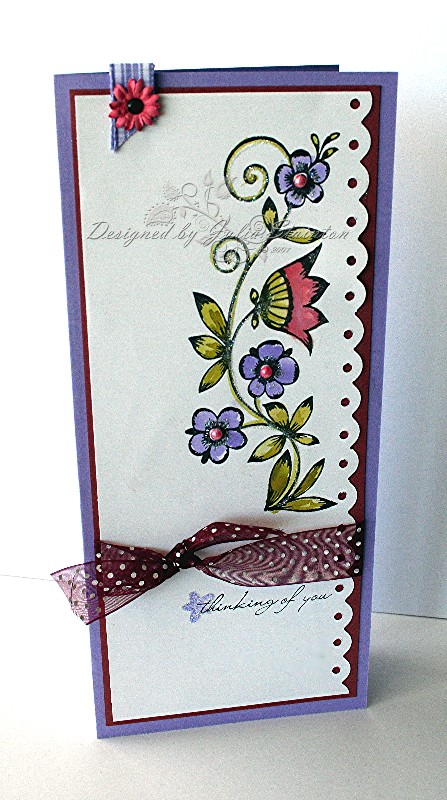
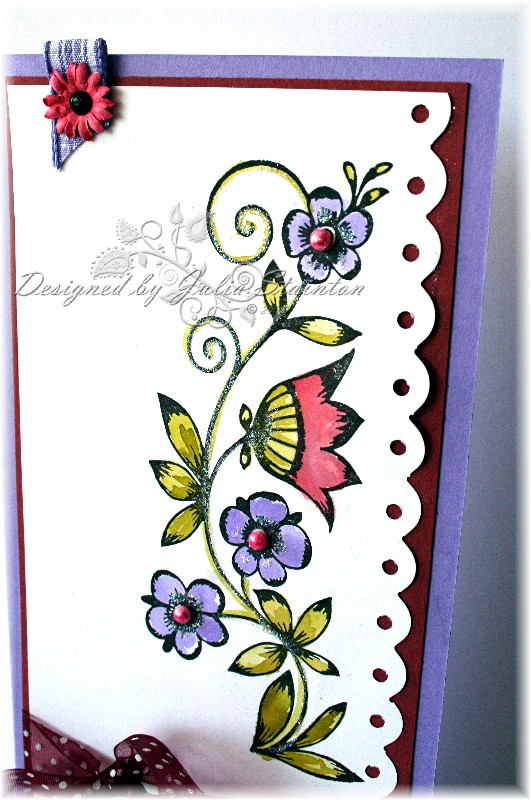
This is the card I designed to go with my Slit Punch Scallops Tutorial. I just love this new Brocade Background designer paper from Stampin Up. It will be available in the new catalogue, July 1st! To make this card, I started out with a piece of cardstock in the new … 4.25″ wide by 11 inches long. Just a regular piece of cardstock, cut in half lengthwise instead of cross-wise. Score the card 2.5″ from one edge and 3″ from the other and fold each panel toward the middle. Easy! I then covered the front panels with the designer paper and sponged the edges with Close to Cocoa ink. I then punched my Slit Punch Scallops out of designer paper and adhered it to the top panel edge. For a little extra support and also for texture and interest, I zig zag stitched the overlapping layers together. In the center of the scallops, I punched holes and set pewter eyelets with my Crop-a-dile.
For the main image, I stamped the stylized motif in Wild Wasabi onto the cardstock and then sponged the edges. The square was then matted with designer paper that matched the scallops and then a very narrow mat of very vanilla cardstock. Before adhering the panel to my card front, I stitched the layers together and then stamped Friend. In the center of motig, I adhered a button tied with some linen thread. I got this absolutely darling bag of Autumn Leaves Foofala buttons from my local scrapbook store and I can’t wait to use them again. 🙂
The bottom panel is the last part of the design I worked on. I stamped the flourish with my Canvas Palette Hybrid ink and then sprinkled on some Vanilla embossing powder. Because this ink dries so quickly, only some of the embossing powder stuck to the ink. I quickly heated it up and was really pleased with the results. It really has a distressed embossing powder look! Cool! I then stamped kind on the front bottom corner and tucked a small piece of patterned paper behind the bottom flap and stitched it on. Then for the thing I love most about this design….the bottom flap is adhered with two strips of Terrifically Tacky tape at each each. This makes a darling little pocket to put a gift card into!
Lastly, for the inside sentiment…I goofed! But it was a good “goof”! LOL I stamped the sentiment crooked. 🙁 I KNOW…should have used my Stampamagig. I quickly saved the card by stamping my sentiment again on a scrap of River Rock cardstock, sponged the edges and then matted it with more designer paper. I like it even better this way! 🙂
Kind Friend Open
Supply List:
Cardstock: River Rock, Very Vanilla – Stampin Up
Patterned Paper: Brocade Background – Stampin Up
Stamps: Baroque Motifs, Everyday Flexible Phrases, Stamp of Authenticity – Stampin Up
Ink: Wild Wasabi, Close to Cocoa – Stampin Up, Pallette Noir and Canvas Pallette Hybrid inks – Stewart
Other: button – Autumn Leaves, linen thread & Glue dots & Slit Punch, Vanilla Embossing powder (retired) – Stampin Up, pewter eyelets – Making Memories, Crop-a-dile – We R Memory Keepers, sewing machine,


