
Yippee! So excited! The newly released Lizzie Anne Designs stamps have arrived! I just love the new releases but my absolute fave is the Jolies Fleurs set. I can see it with so many different styles and techniques. Don’t you just love those really flexible sets?!
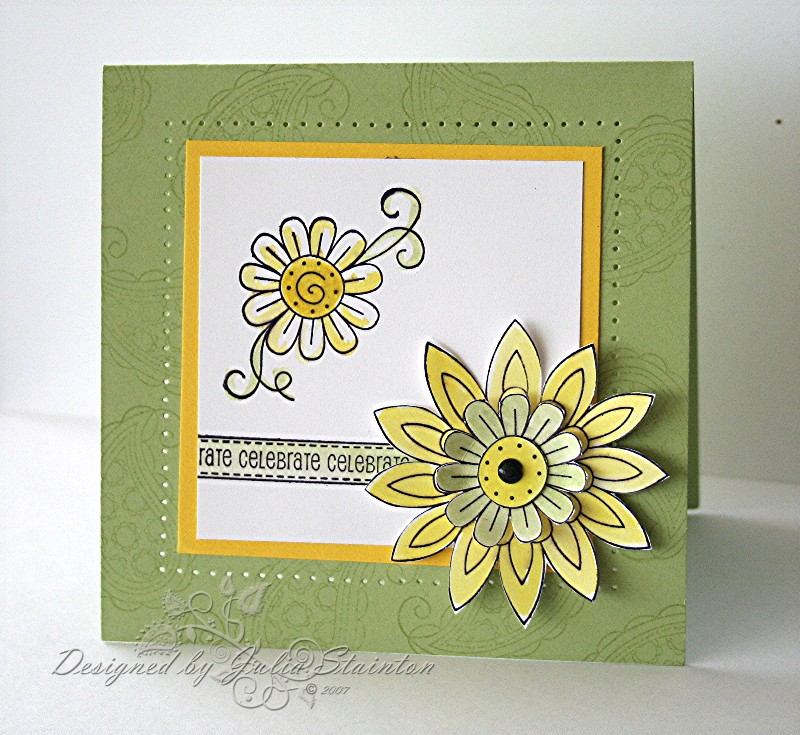
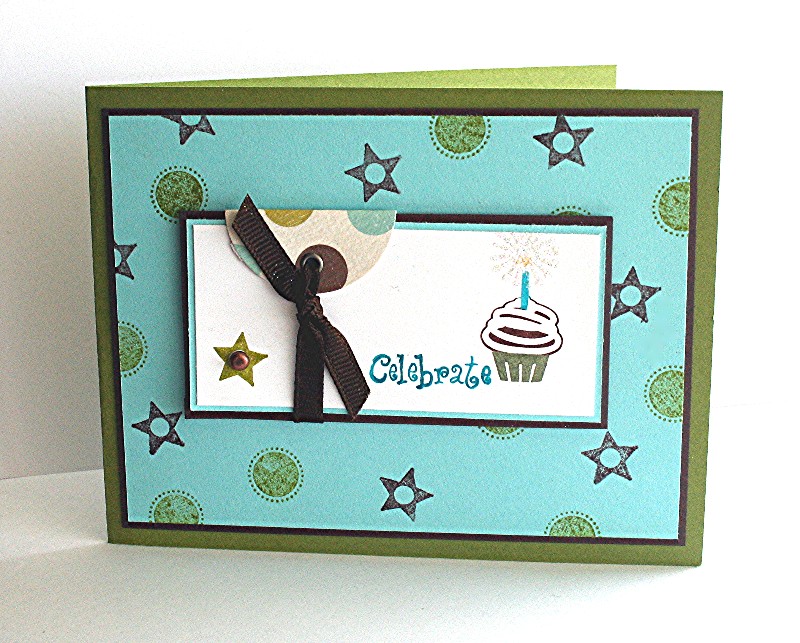
Sunny Celebrate
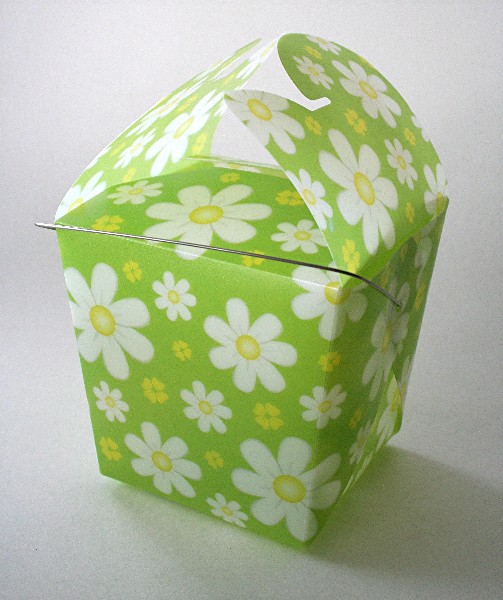
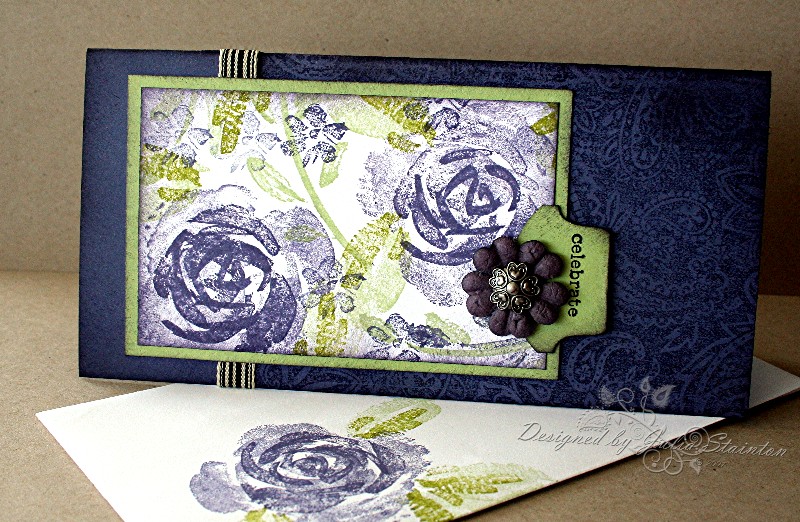
This card was inspired by a box….a little translucent plasitc take-out box that I picked up at Michael’s this spring. It has been sitting on top of my ink storage waiting for me to make a coordinating card. Thursday it occurred to me that I could use it for the Yo Yo Yellow challenge…a little later perhaps, but I’ve never put deadlines on the challenge. You can upload all week and beyond…whenever you find the time.
For this design, I started with a 4.25″ square card base in Certainly Celery. I created a quick, pretty background by stamping it with one of the darling Paisley stamps from the Jolies Fleurs set. I then stamped the smaller flower in the corner of the Whisper White Cardstock layer. It reminded me of the flowers on the package and I watercolored it with Yo Yo Yellow and Certainly Celery to tie in with the box.
The large flower in the set is probably my favorite…so pretty! I stamped it three times on Whisper White cardstock and then watercolored the layers in Yo Yo Yellow and Certainly Celery. After allowing them to dry and then cutting them out carefully, I glued the layers together and fluffed up the petals for a natural look. In the center of the flower, I added a small shiny black brad to hold it all together.
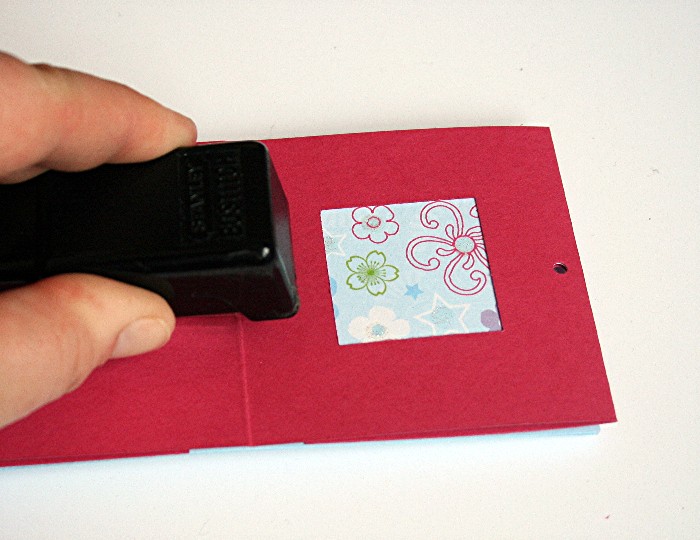
My design still needed a little something so I went back to my box of goodies to look. The Shapes and Stitches set worked perfectly. This Celebrate “stitched” stamp reminded me of ribbon and works both as a sentiment and a faux ribbon to “tie up” the design. I stamped it in black and then watercolored it in Celery. For the final touch, I pulled out my Stampin Up Mat Pack and paper pierced little holes around the design. Subtle but pretty…I love how the light comes through the holes when you prop the card up.
Supply List:
Cardstock: Yo Yo Yellow, Certainly Celery, Whisper White – Stampin Up
Stamps: Jolies Fleurs, Shapes and Stitches – Lizzie Anne Designs
Ink: Basic Black, Certainly Celery, Yo Yo Yellow – Stampin Up
Other: Aquapainter & Mat Pack- Stampin Up, black brad – unknown, Paper Piercer – Making Memories
Lizzie Anne Designs Stamps
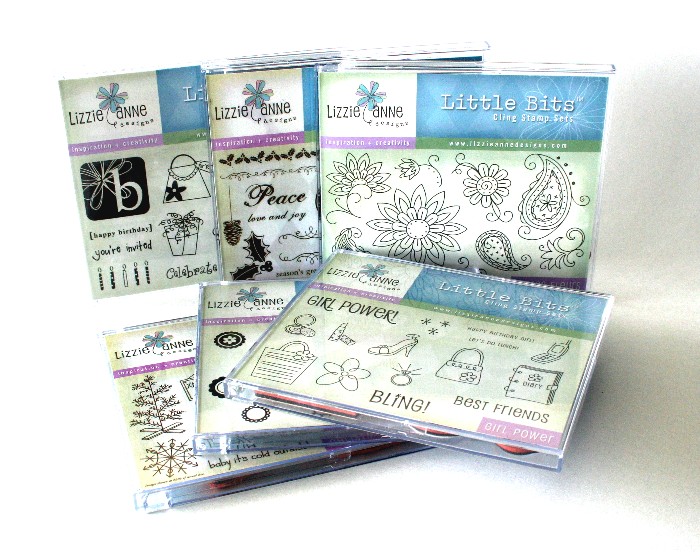
I’ve had quite a bit of interest and questions on my new Lizzie Anne Designs stamps and I thought this would be a good time to tell you about them.
Things I love about these stamps…
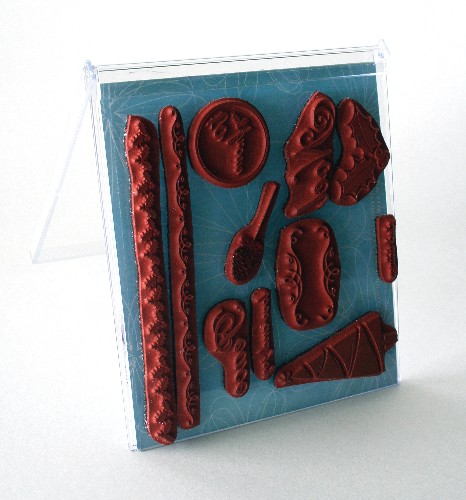
- The rubber stamps give a nice clean image and hold your ink well
- The deeply etched & closely trimmed rubber means you won’t get any extra rubber impressions that should not be there
- They are unmounted rubber with cling-foam backing which works so much better and easier than plain unmounted rubber
- The unmounted rubber on clear blocks lets line up where to stamp your image easy than traditional wood blocks
- The stamp sets coordinate well together
- They come in cute little CD cases making for easy storage
- They take up less room than traditional stamps
Where to buy them…
You can purchase these stamps direct from Lizzie Anne Designs, from a retailer in your area (see retailer locations available here), from Jacksonbelle’s Ebay Store (she carries most of the line) or from other on-line stores here.
Use and Care…
To use the Lizzie Anne Designs stamps, you need some clear acrylic blocks. The back of the stamps come with a great foam layer with cling film. This cling film is what will keep your stamp on your block. Please do NOT pull it off! 🙂 Simply press the stamp to your clear acrylic block, ink it up and stamp. To clean your stamps, simply wipe them with a damp papertowel. The clingfilm and block can be cleaned in the same manner. You must take care to keep them both clean or the stamp will not adhere well. I have also used a package of babywipes on my desk to clean the rubber on these stamps…very convenient. Please note…you should not immerse the stamps in water.


