So life is what happens when you are busy making other plans.
Since my last post, so much has happened in my life. And so little if I get right down to it.
I started a new blog.
Had an accident.
Started physio therapy.
Wow. Lots of things I never planned. And the things I did plan, getting my new blog in tip top shape, making some lovely new blog graphics, enjoying fall by taking long walks and playing with my kids, having lots of time to craft…well, they didn’t quite work out the way I expected.
But whatever. Life is messy. So come visit me on my new blog juliastainton.com It’s not finished but that’s OK. I’m slowly trying to get back on track.
Things to note:
- If you’d like to keep up with my creations, follow me or subscribe to my feed on my new blog…I’d love to have you join me!
- All my posts will remain here on this blog for future reference for the time being.
- All my posts have also been imported into my new blog so you can easily find them there as well.
- I have a few posts that are new on juliastainton.com so make sure you scroll down
- I’ll pop back in here once or twice more to remind you where I’m at.
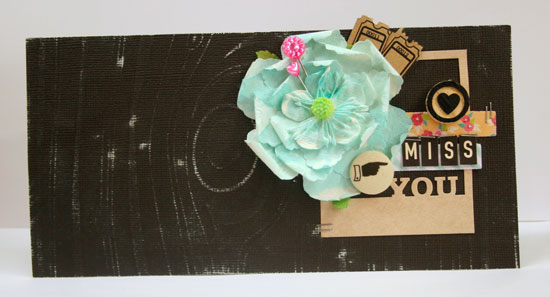
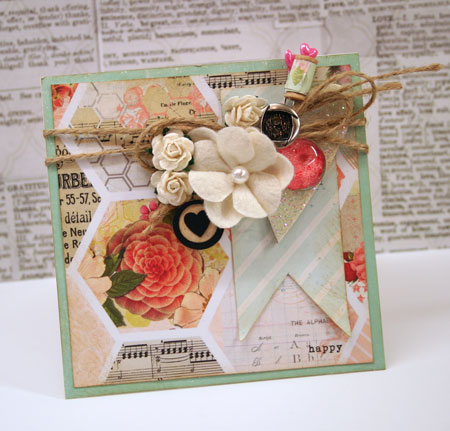
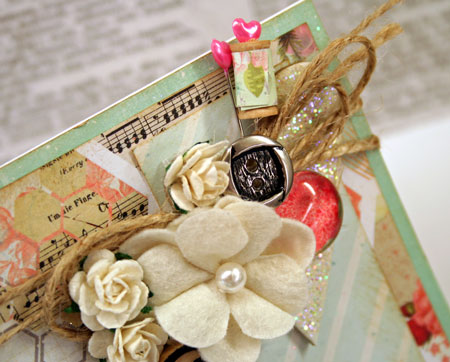
Card Details… It’s just a sweet hodge podge of goodies. Kind of like friendship. Who knows why some things and friends just work together, but they do. There’s Coredinations sanded cardstock, Jenni Bowlin flair, Studio Calico die cuts, Maya Road tickets, pins and bingo motif and a big beautiful Prima flower. Click on the card to enlarge it for more detail.
Finally, thanks so much for staying with me all these years! I’ve been blogging here since February 2007 and it’s been an amazing adventure.
XO